Invisalign Misconceptions Debunked: What You Really Need to Know
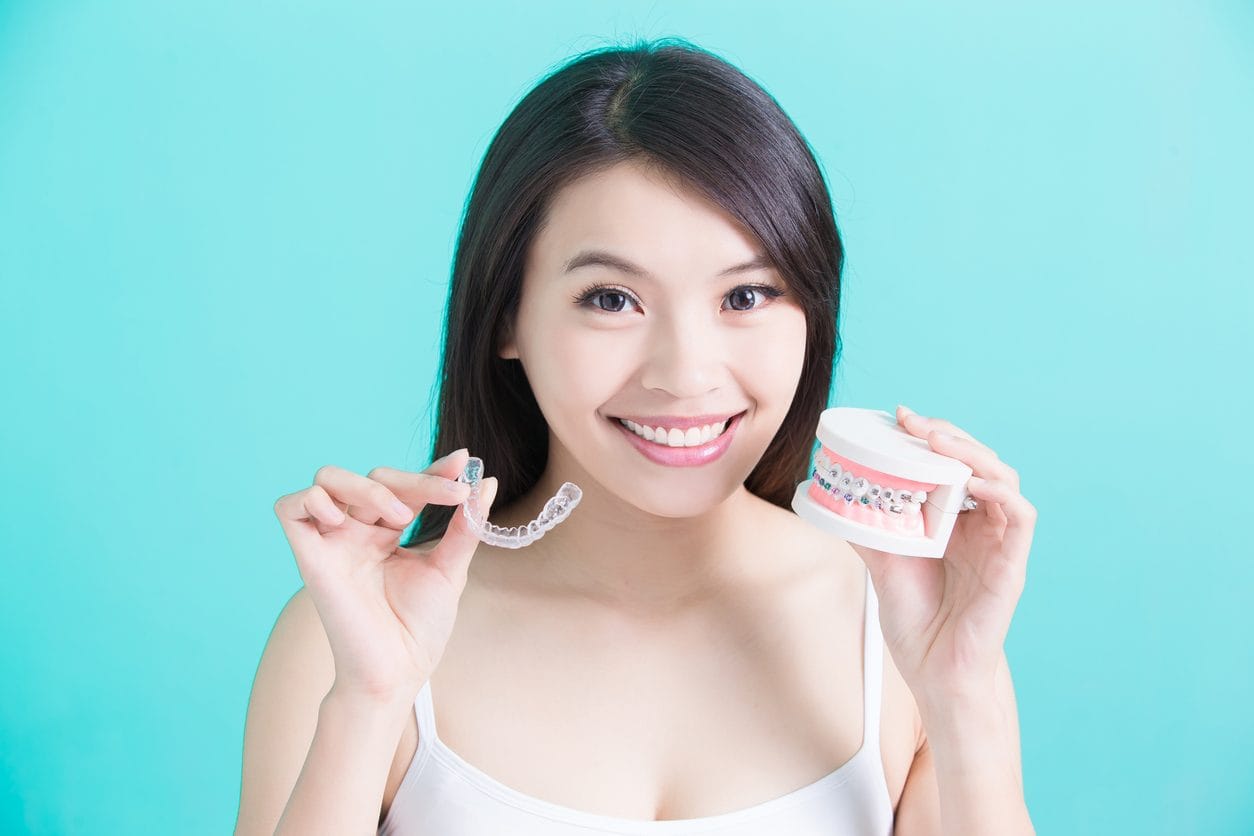
Let’s face it: when you think about getting a straighter smile, you might automatically picture a mouth full of metal brackets and wires. While traditional braces are great, Invisalign has quickly become one of the most popular ways for both teens and adults to get the smile they want.
Even so, a lot of outdated myths are still floating around, stopping people from exploring whether clear aligners are the right fit for them. Let’s clear the air and separate fact from fiction so you can make the best decision for your smile!
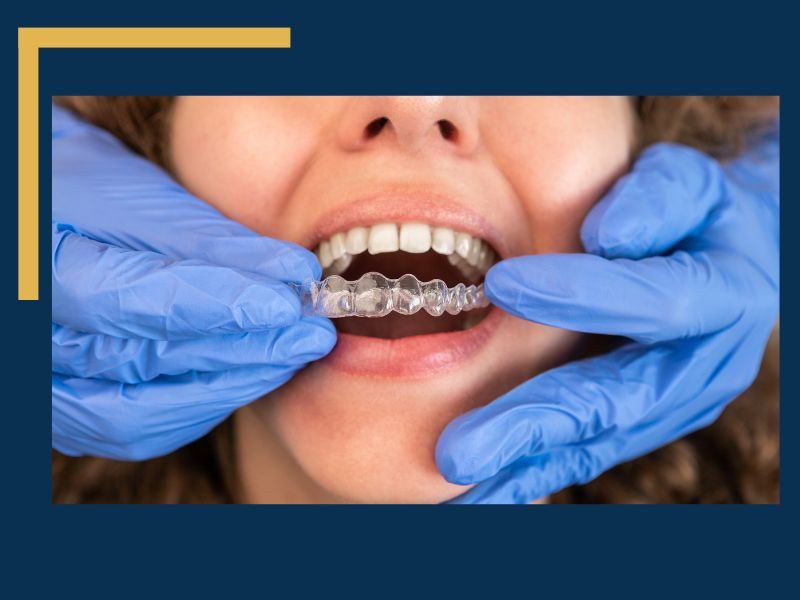
Myth #1: Invisalign is only for minor touch-ups.
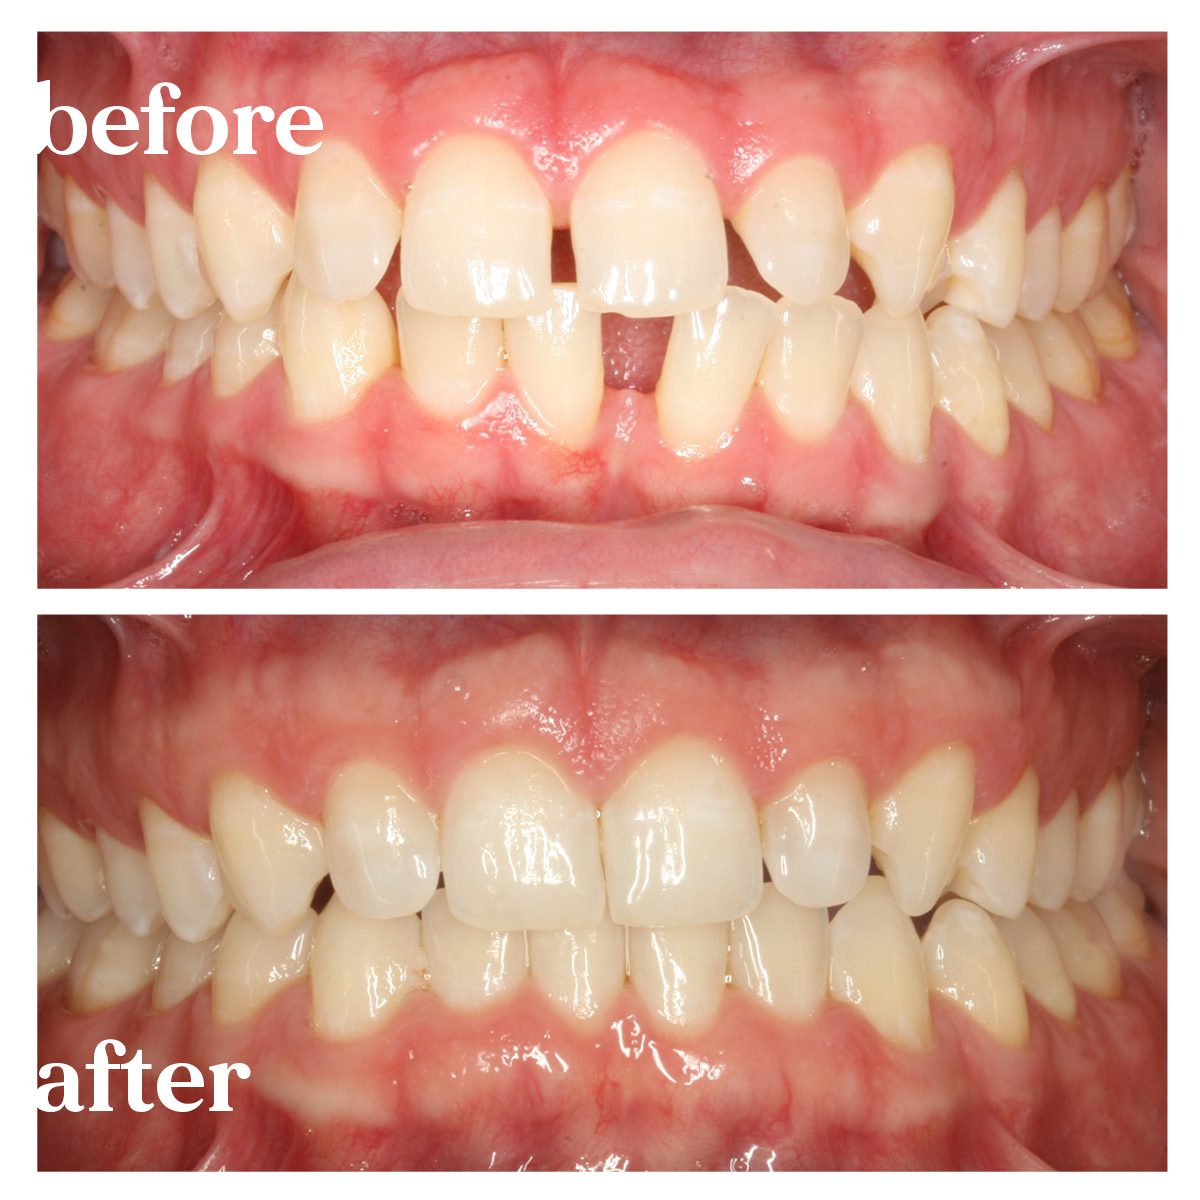
The Reality: Nope! While it’s true that early versions of Invisalign were mostly used for tiny gaps or slight crowding, today’s technology is a powerhouse. When planned and monitored by an experienced orthodontist, modern Invisalign can tackle complex issues like overbites, underbites, crossbites, and serious crowding.

Wondering if it will work for your unique smile? Learn more about our Invisalign options and see if it’s right for you.
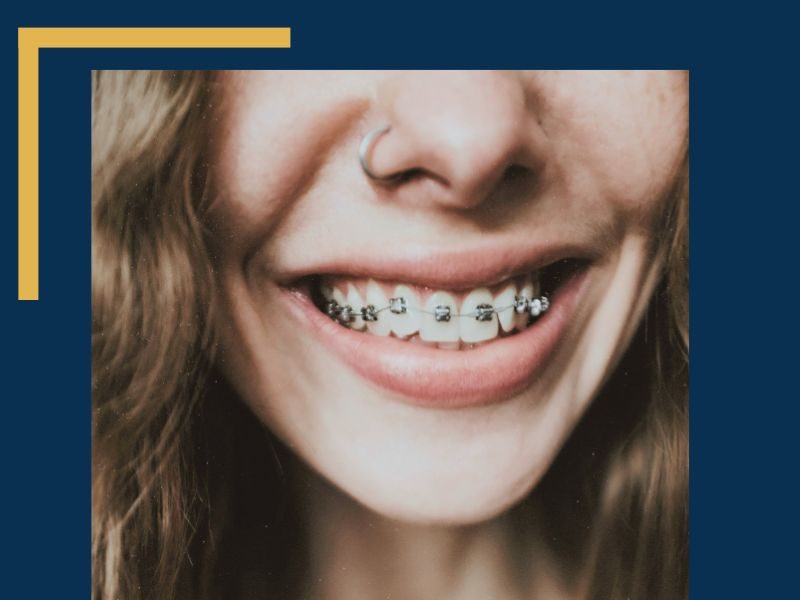
Myth #2: It takes way longer than traditional braces.
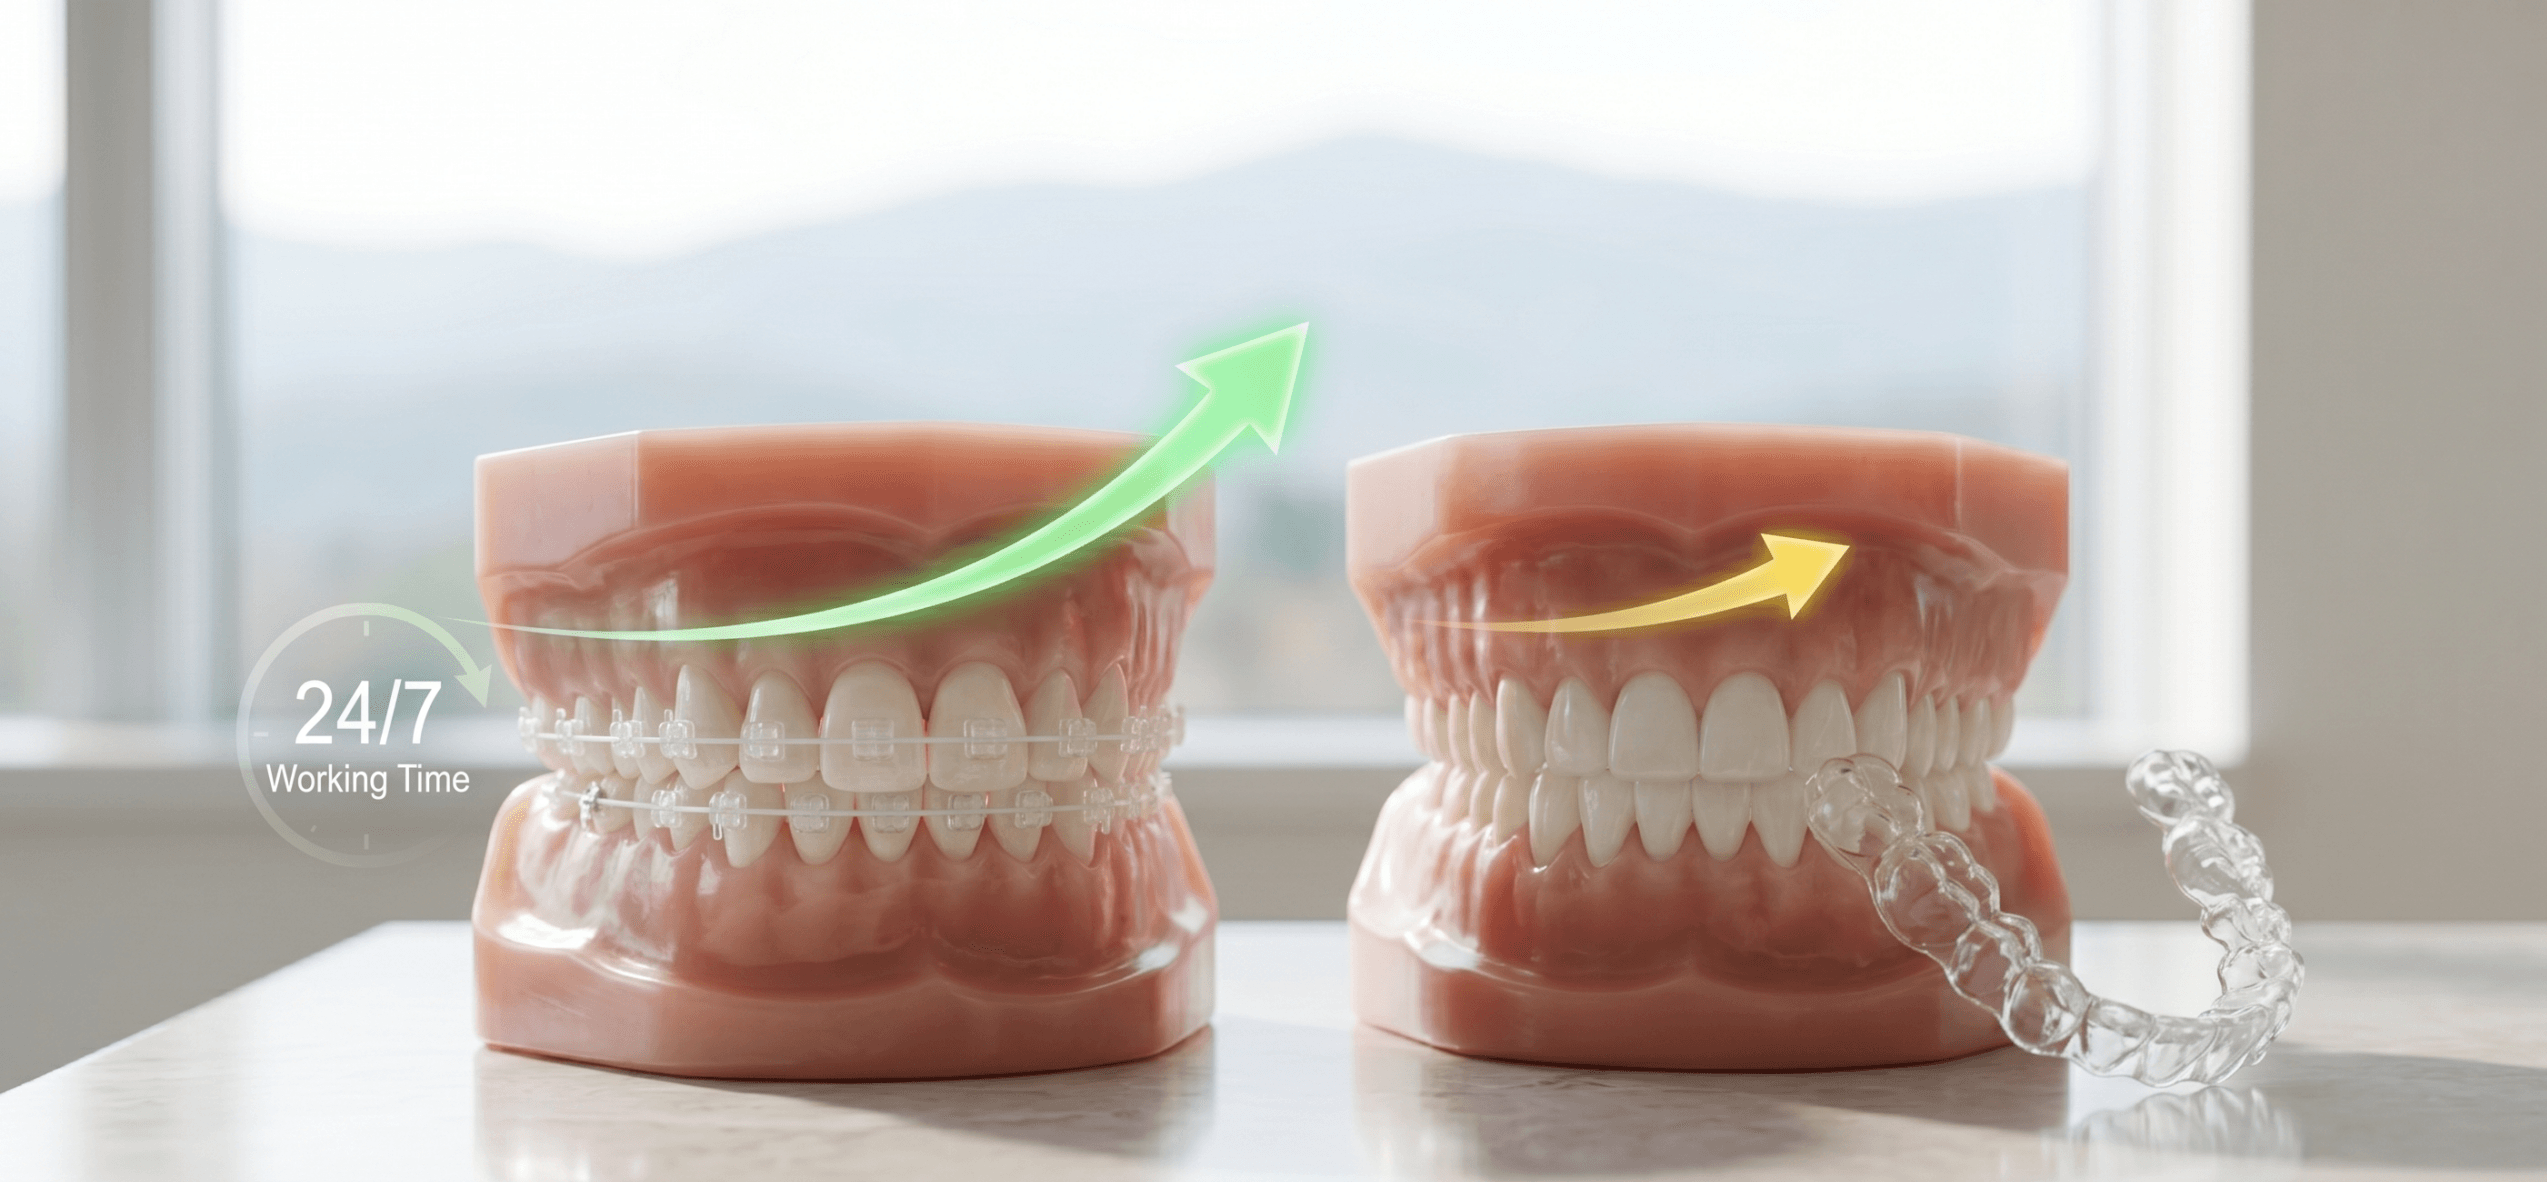
The Reality: Many people assume plastic aligners must be slower than metal braces, but that’s not the case. The truth is, treatment times are usually very similar! Your timeline really depends on the complexity of your smile and—most importantly—how consistently you wear your aligners. If you follow your orthodontist’s instructions, you’ll see beautiful results in a timeline you’ll love.
Explore all the orthodontic treatment options we offer here.
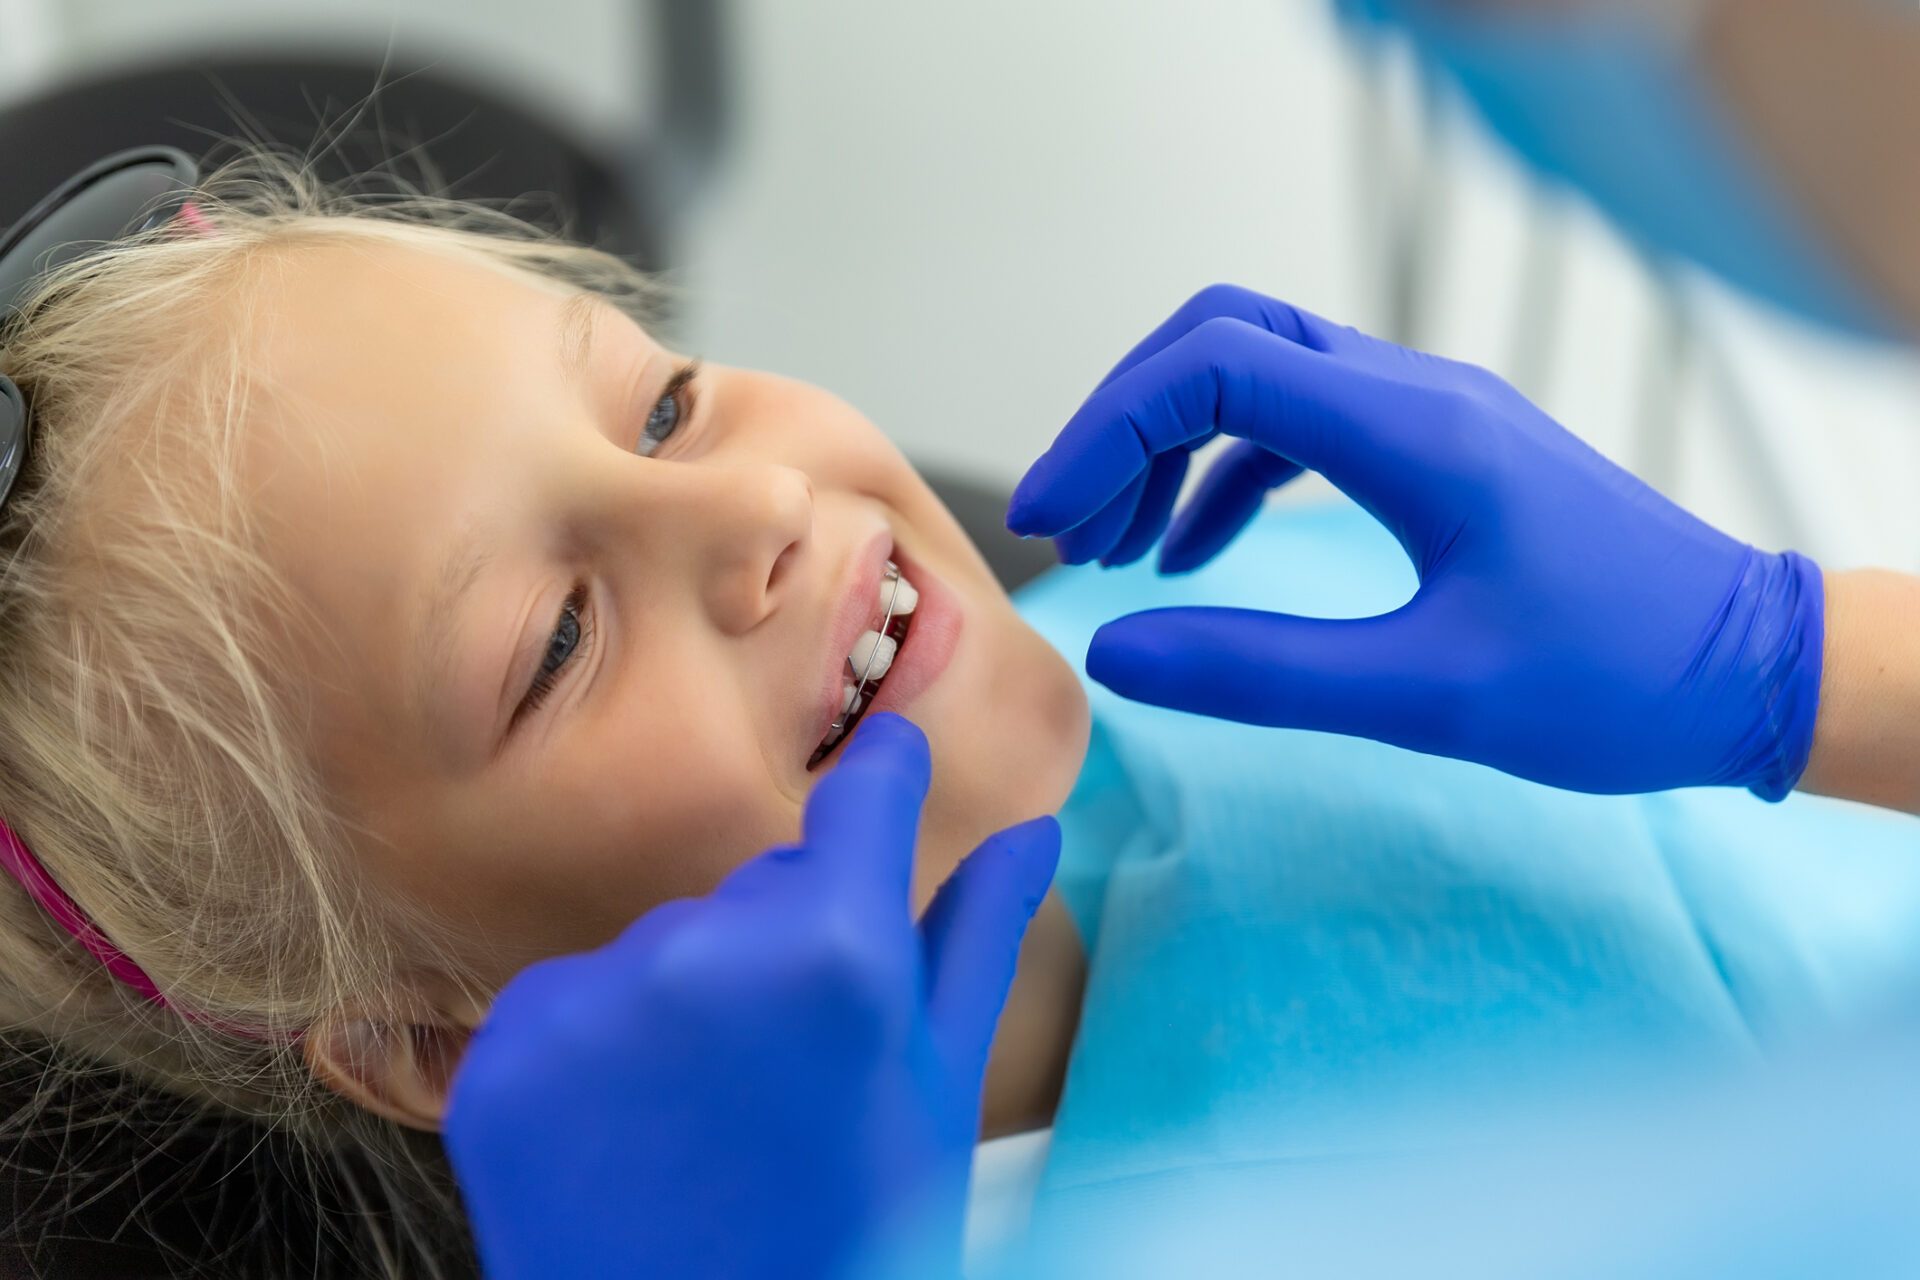
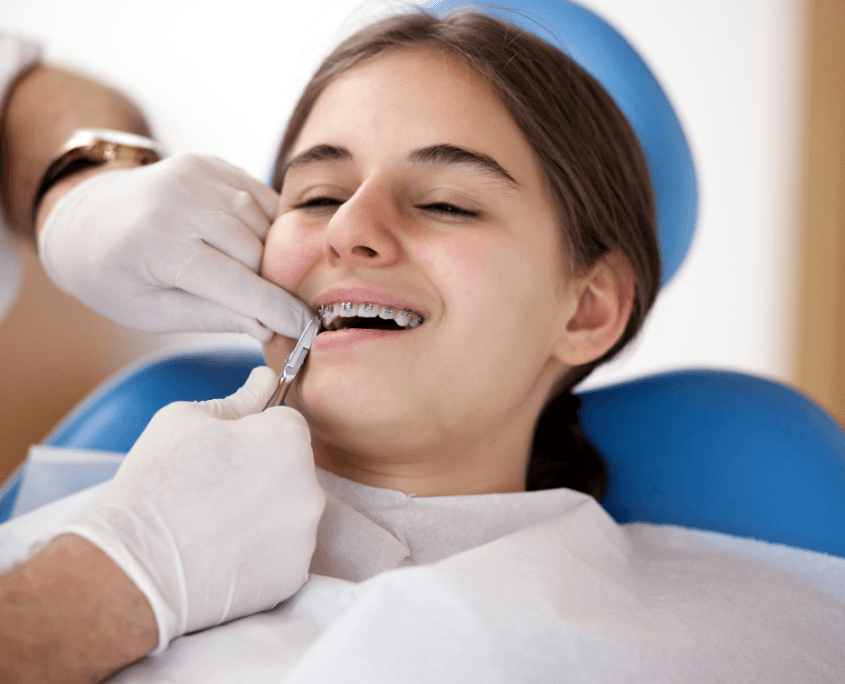
Myth #3: Invisalign is just for adults.
The Reality: While adults absolutely love the subtlety of clear aligners, they are also a massive hit with teenagers. Invisalign Teen aligners are specially designed to keep up with growing smiles, school sports, and busy social lives—all without the worry of broken wires or emergency office visits.
Parents, want to know more? Discover our early and teen orthodontic care options.
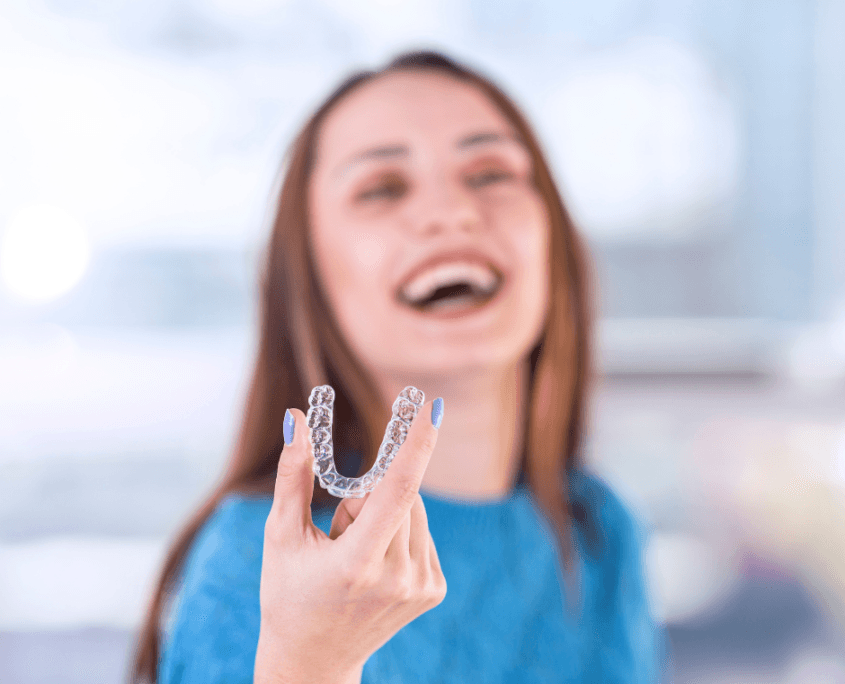
Myth #4: All clear aligners are exactly the same.
The Reality: Not all aligners are created equal. You might have seen mail-in aligner companies online, but successful treatment isn’t just about the plastic trays. The real magic happens because of the expert orthodontist who is custom-designing and carefully monitoring your treatment plan. Professional oversight ensures your teeth move safely, comfortably, and correctly.
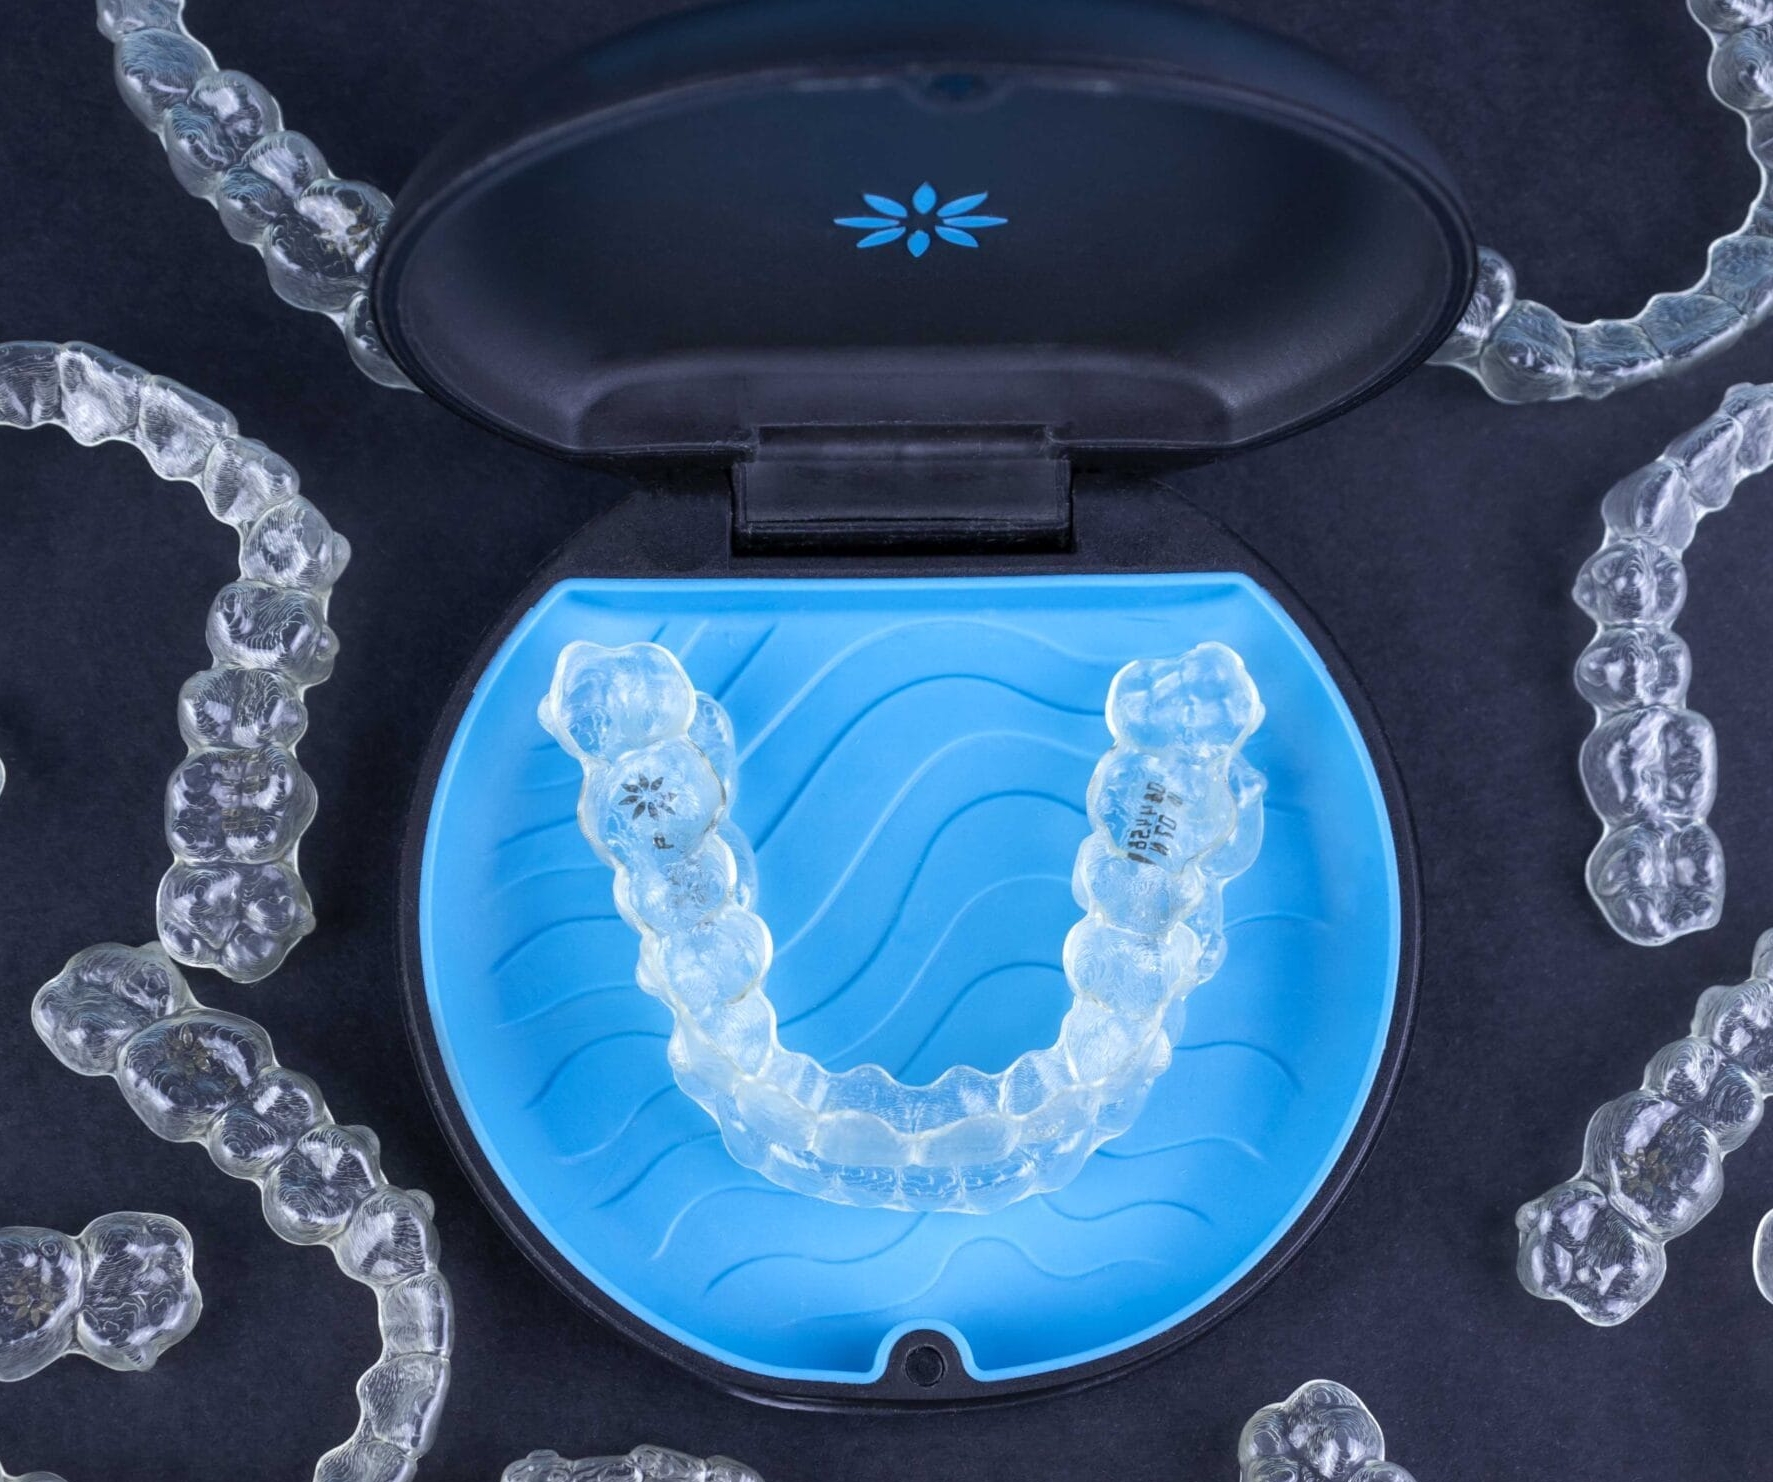
Looking for a super convenient, professional alternative? Check out Impressions by Blue Ridge Orthodontics.
Myth #5: I already saw another orthodontist, so I’m locked in.
The Reality: Getting a second opinion isn’t just okay—it’s actually a really smart part of the process! If you’ve already been told you need braces but you have doubts about the timing, the cost, or whether Invisalign could work instead, we would love to take a look. We offer a totally free, no-obligation second opinion so you can feel 100% confident in your choice.
Click here to schedule your complimentary second-opinion evaluation.
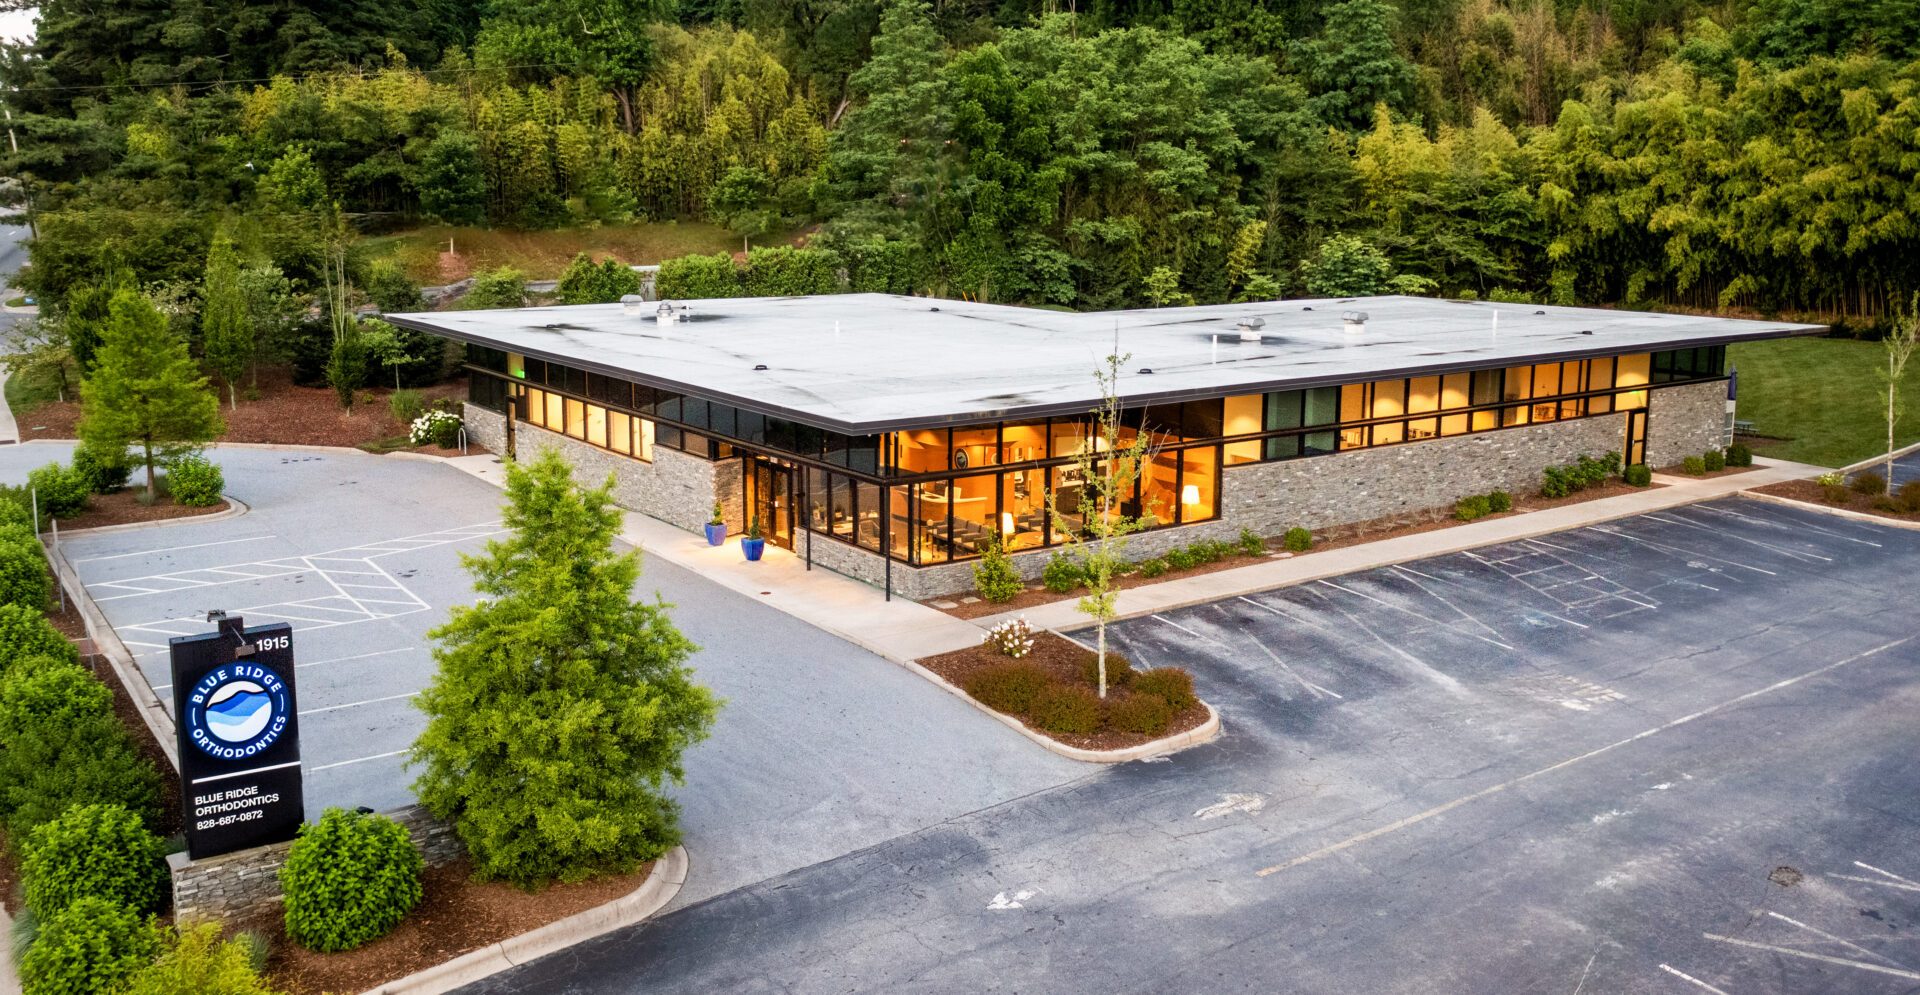
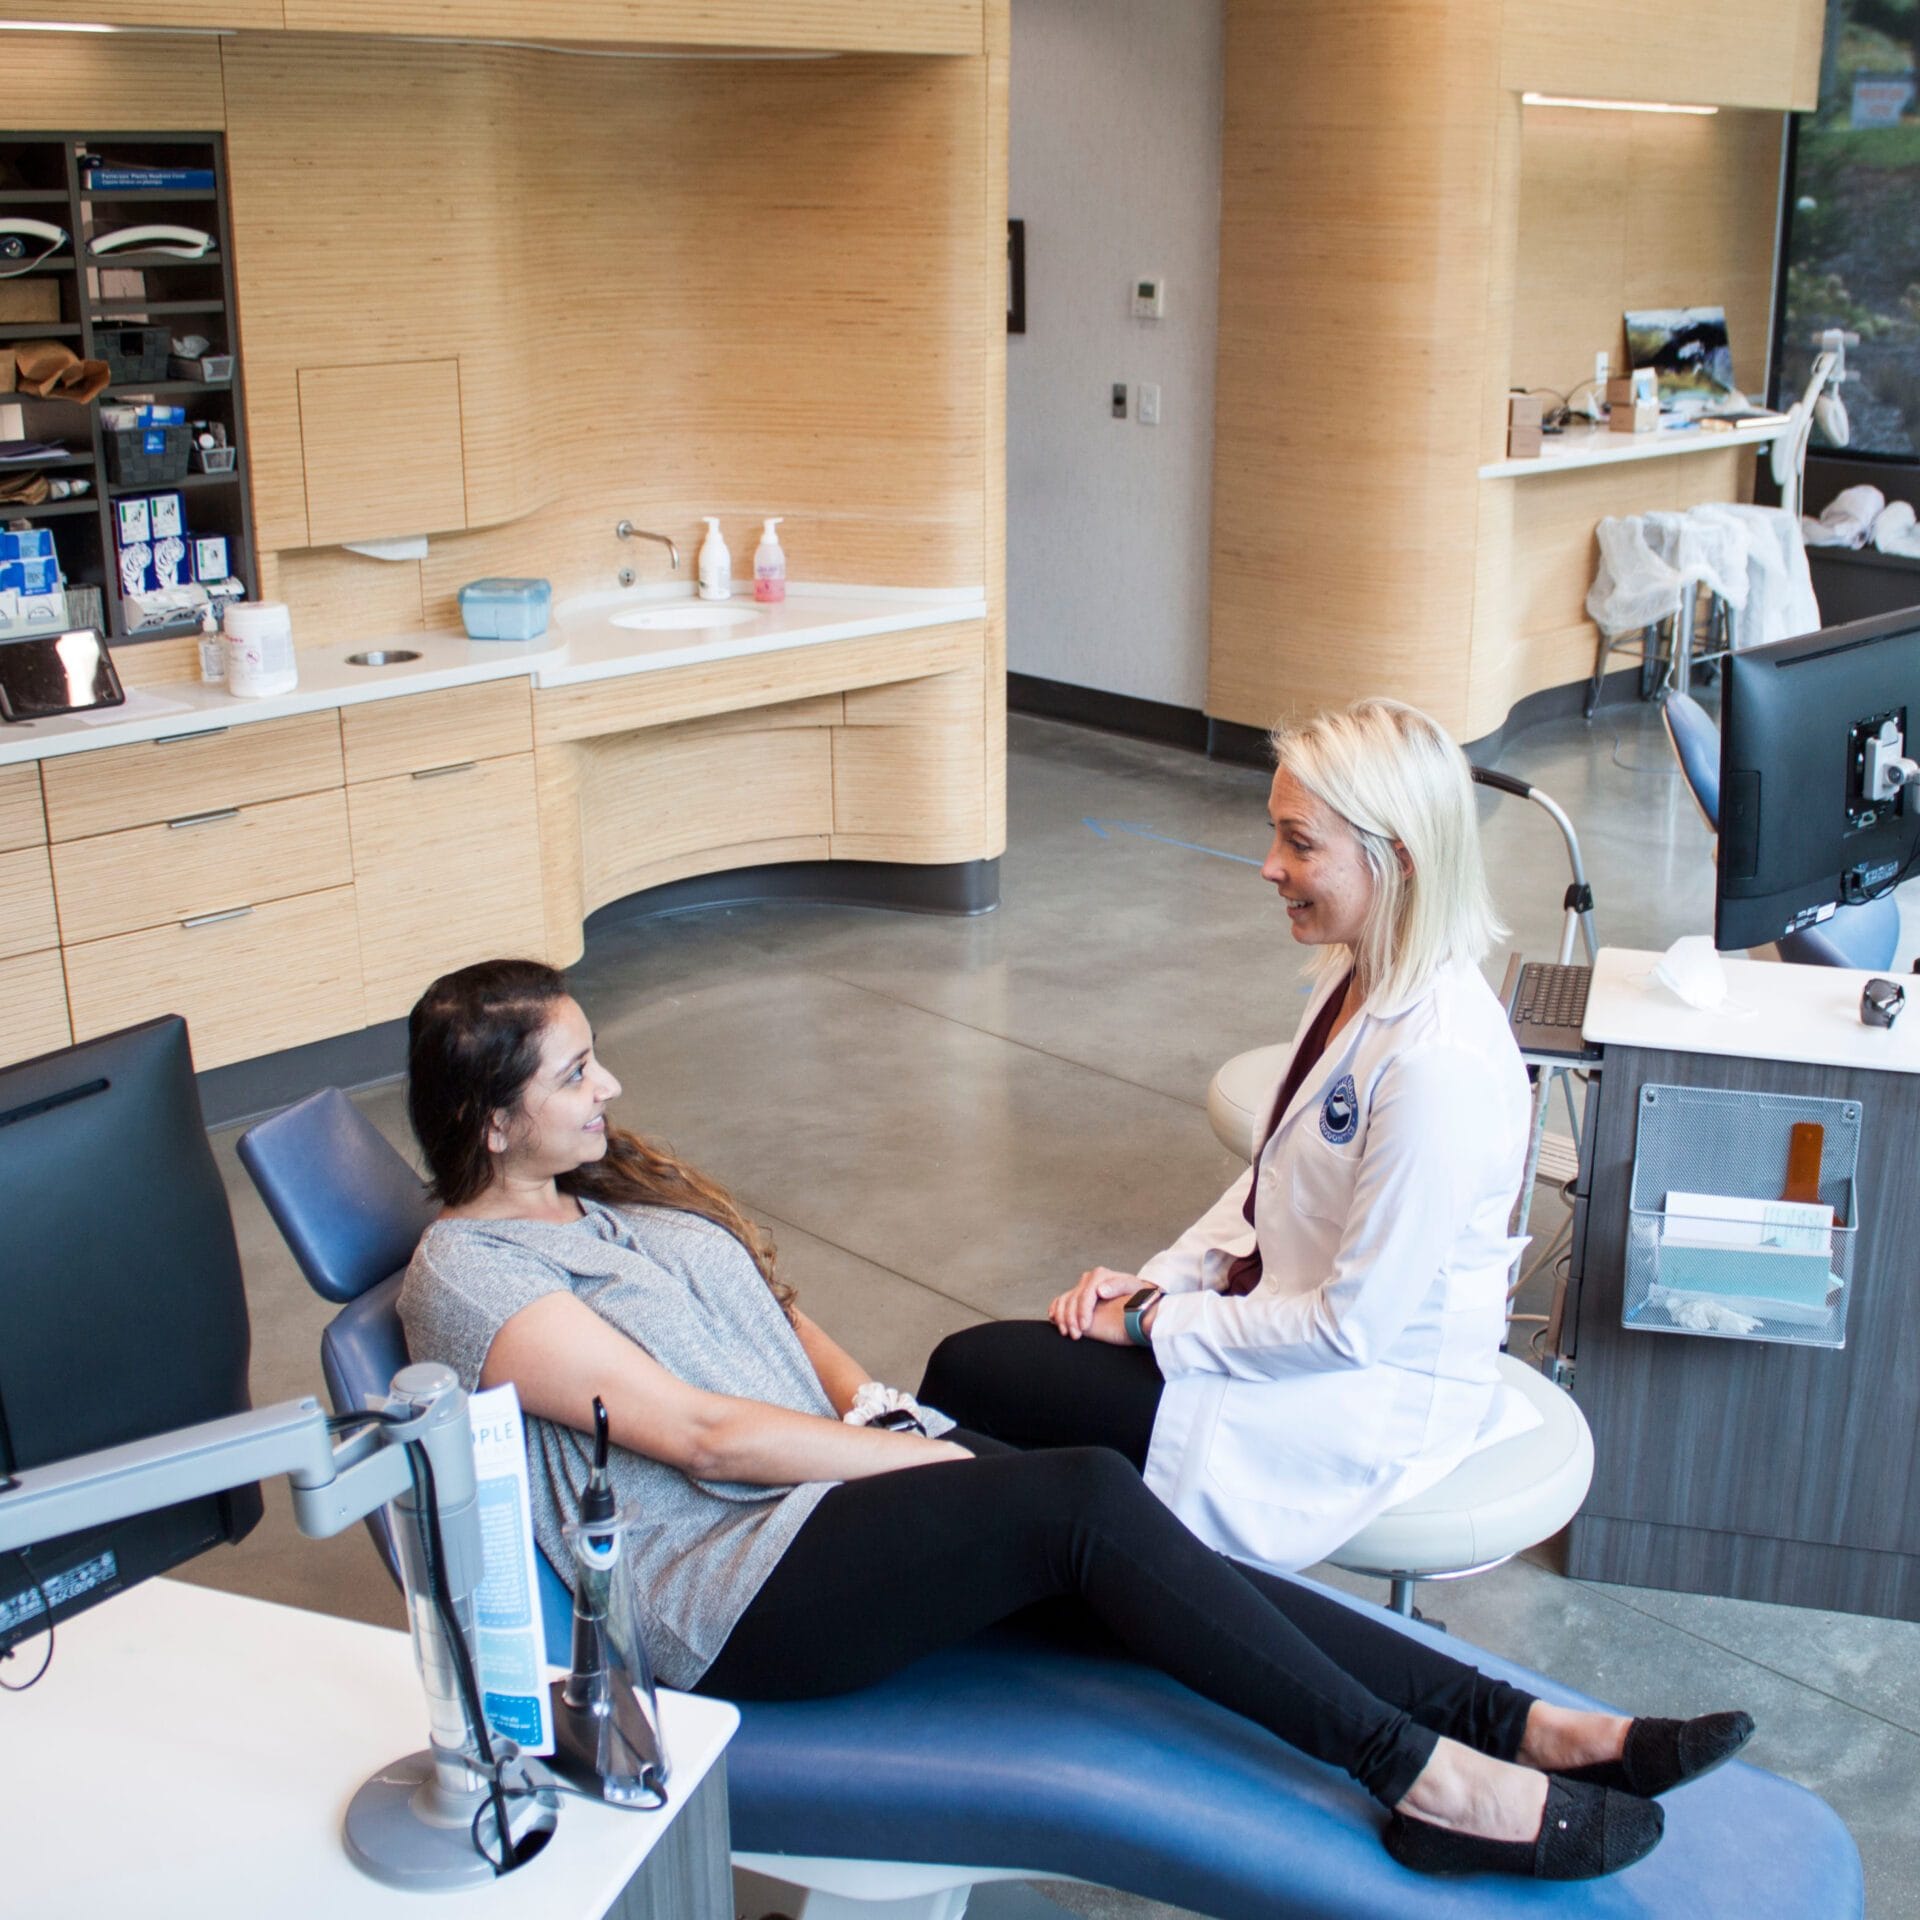
Why Choose Blue Ridge Orthodontics?
At Blue Ridge Orthodontics, we love helping folks in Asheville, Hendersonville, and Brevard get healthy, confident smiles they can’t wait to show off. Whether you’re leaning toward Invisalign, traditional braces, or just want a friendly second opinion, our goal is to give you honest guidance, zero pressure, and amazing care every step of the way.

Helpful Resources to Explore:
Ready to Get Started?
Don’t let old myths hold you back from the smile you’ve always wanted. Reach out to the team at Blue Ridge Orthodontics today to schedule a free consultation. With convenient locations, personalized care, and the latest technology, your journey to a happier, healthier smile starts right here!


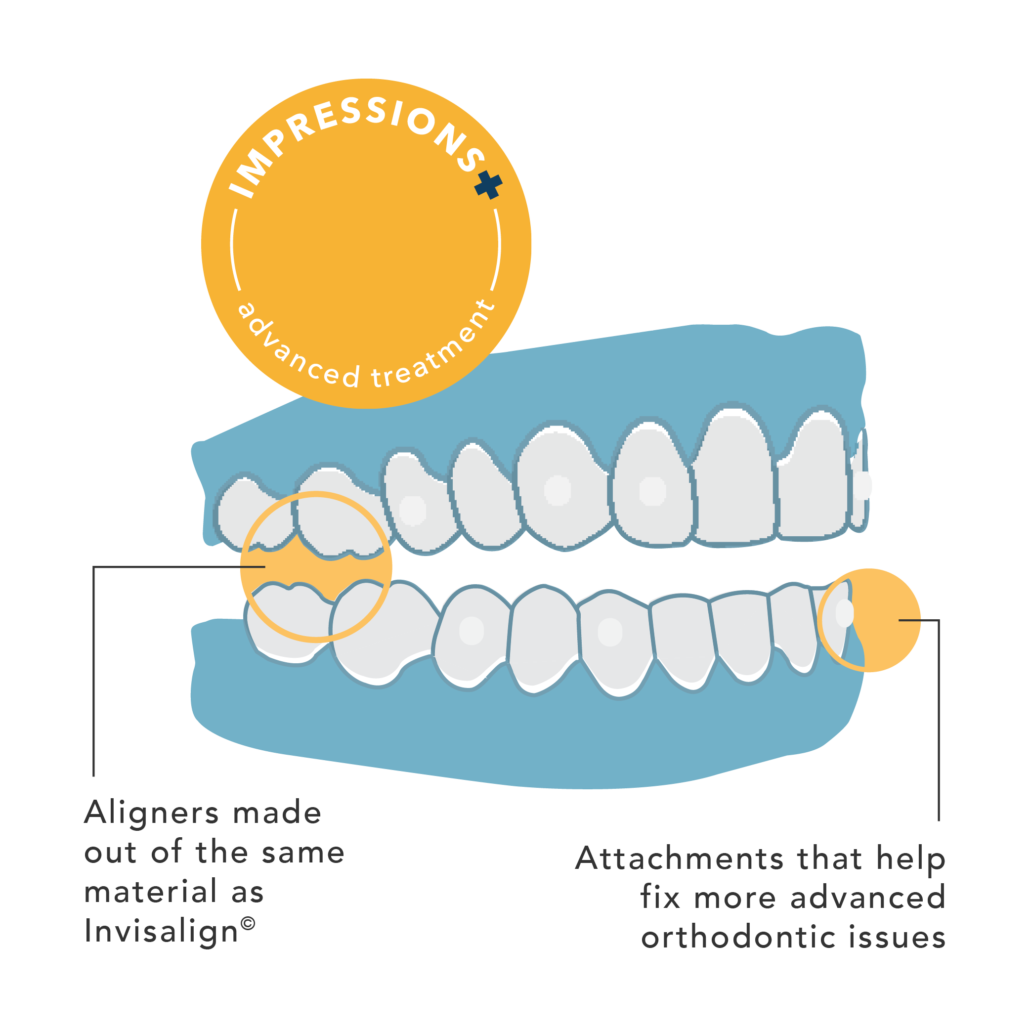
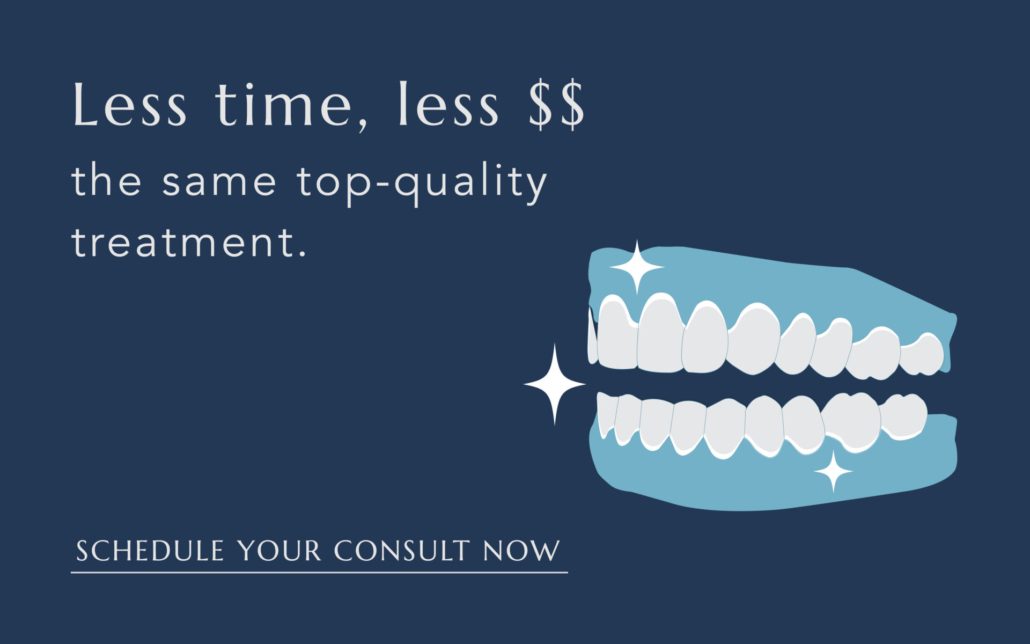
 Impressions+, the perfect balance for your life.
 How do you transform smiles from home?