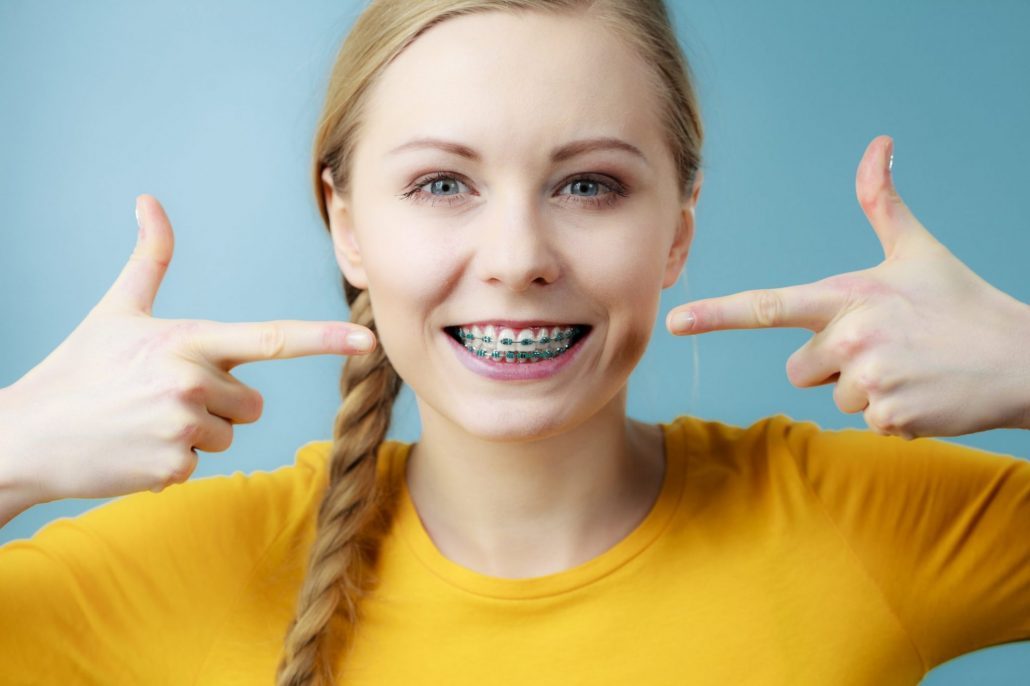
The Ultimate Braces-Friendly Diet: What to Eat and What to Avoid
Quick Summary: Your Guide to a Braces-Friendly Diet Navigating your new braces-friendly diet doesn’t have to be complicated! To keep your orthodontic treatment on track and avoid broken brackets, focus on enjoying soft, easy-to-chew foods (like smoothies, pasta, and cooked vegetables). Steer clear of anything hard, sticky, or chewy (like ice, caramel, and nuts) that can damage your wires. Read on for our complete “Yes” and “No” food lists, plus tips for handling tender teeth after an adjustment.

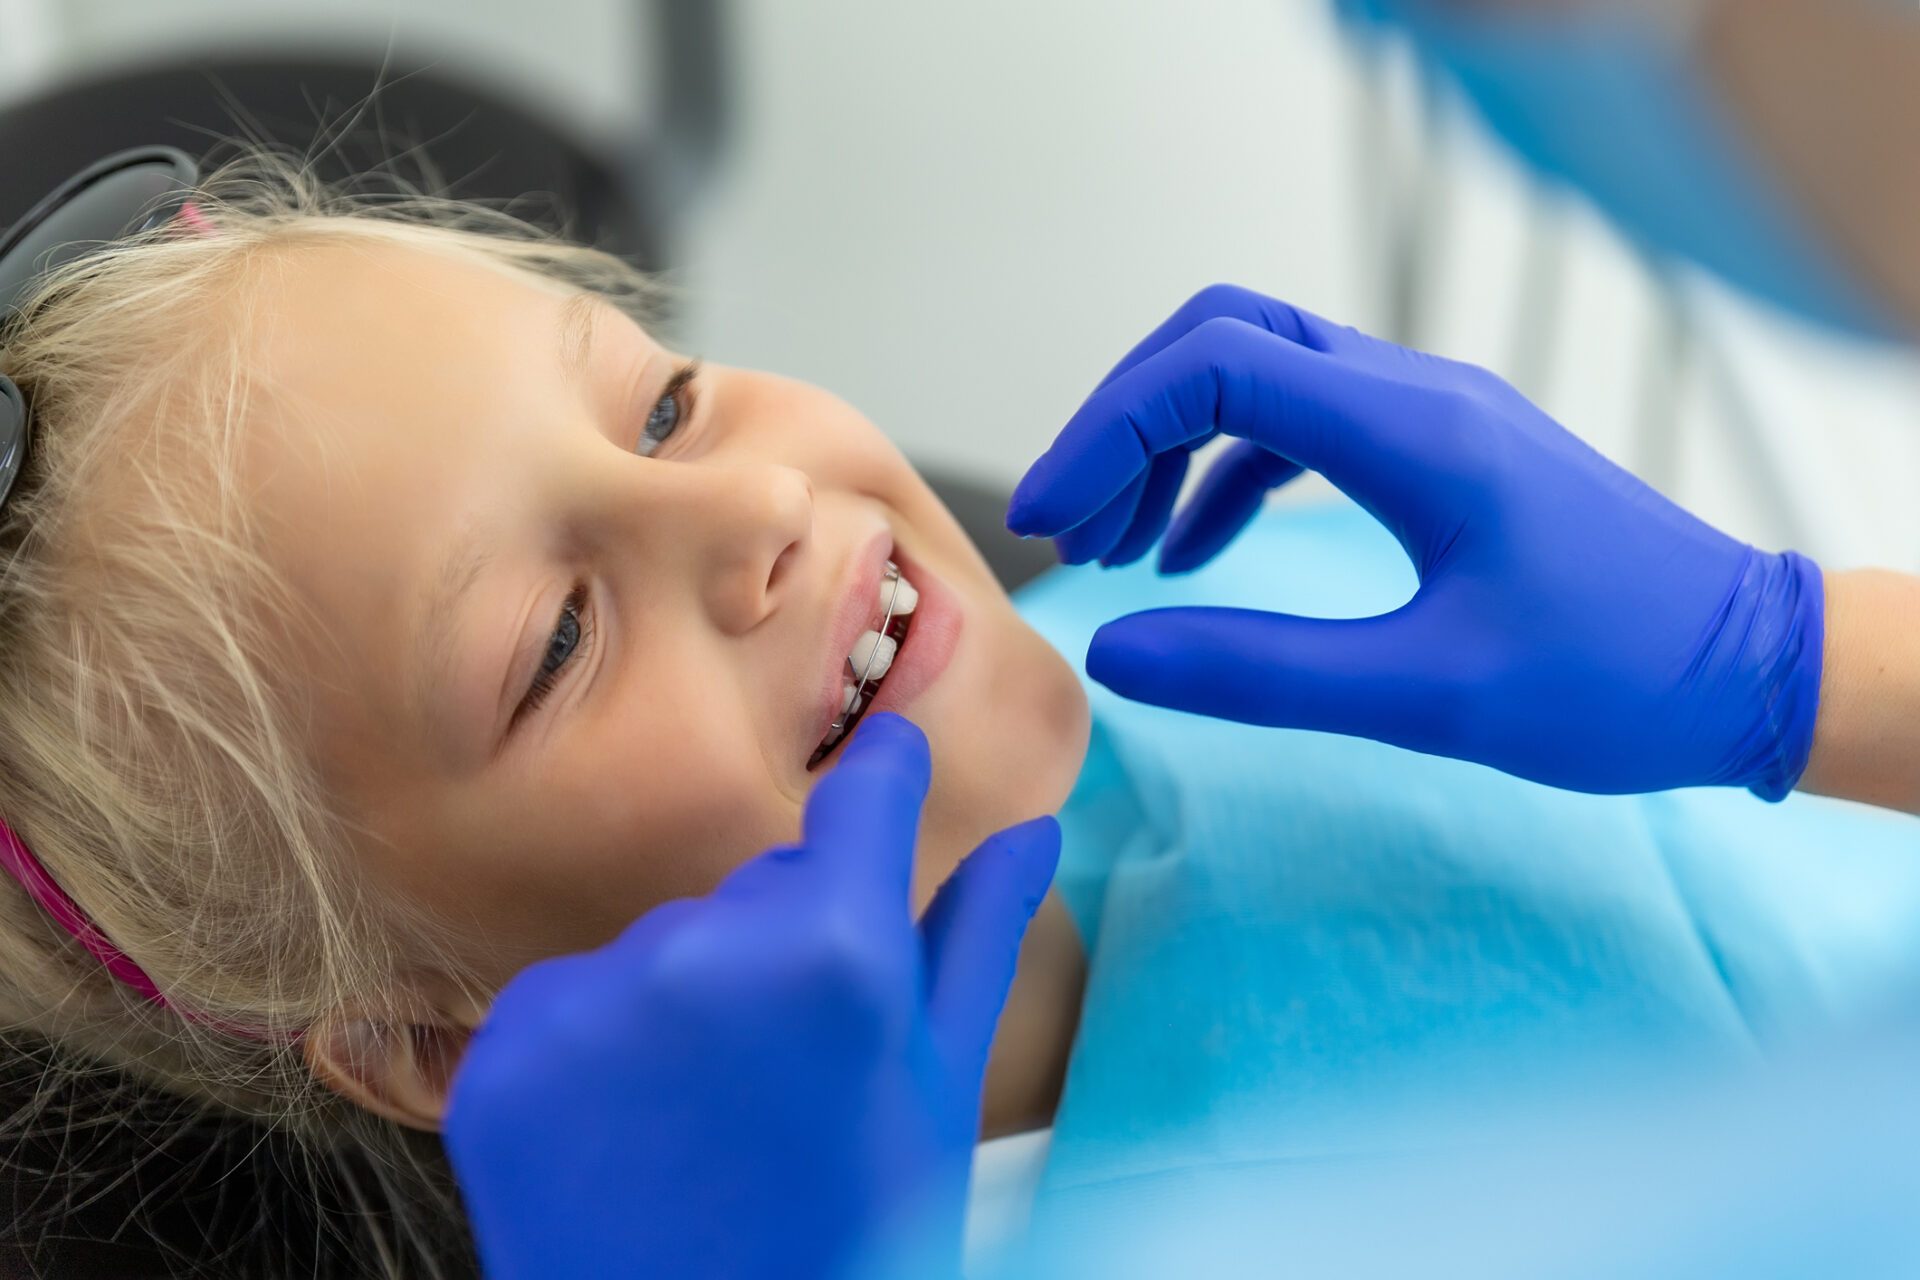
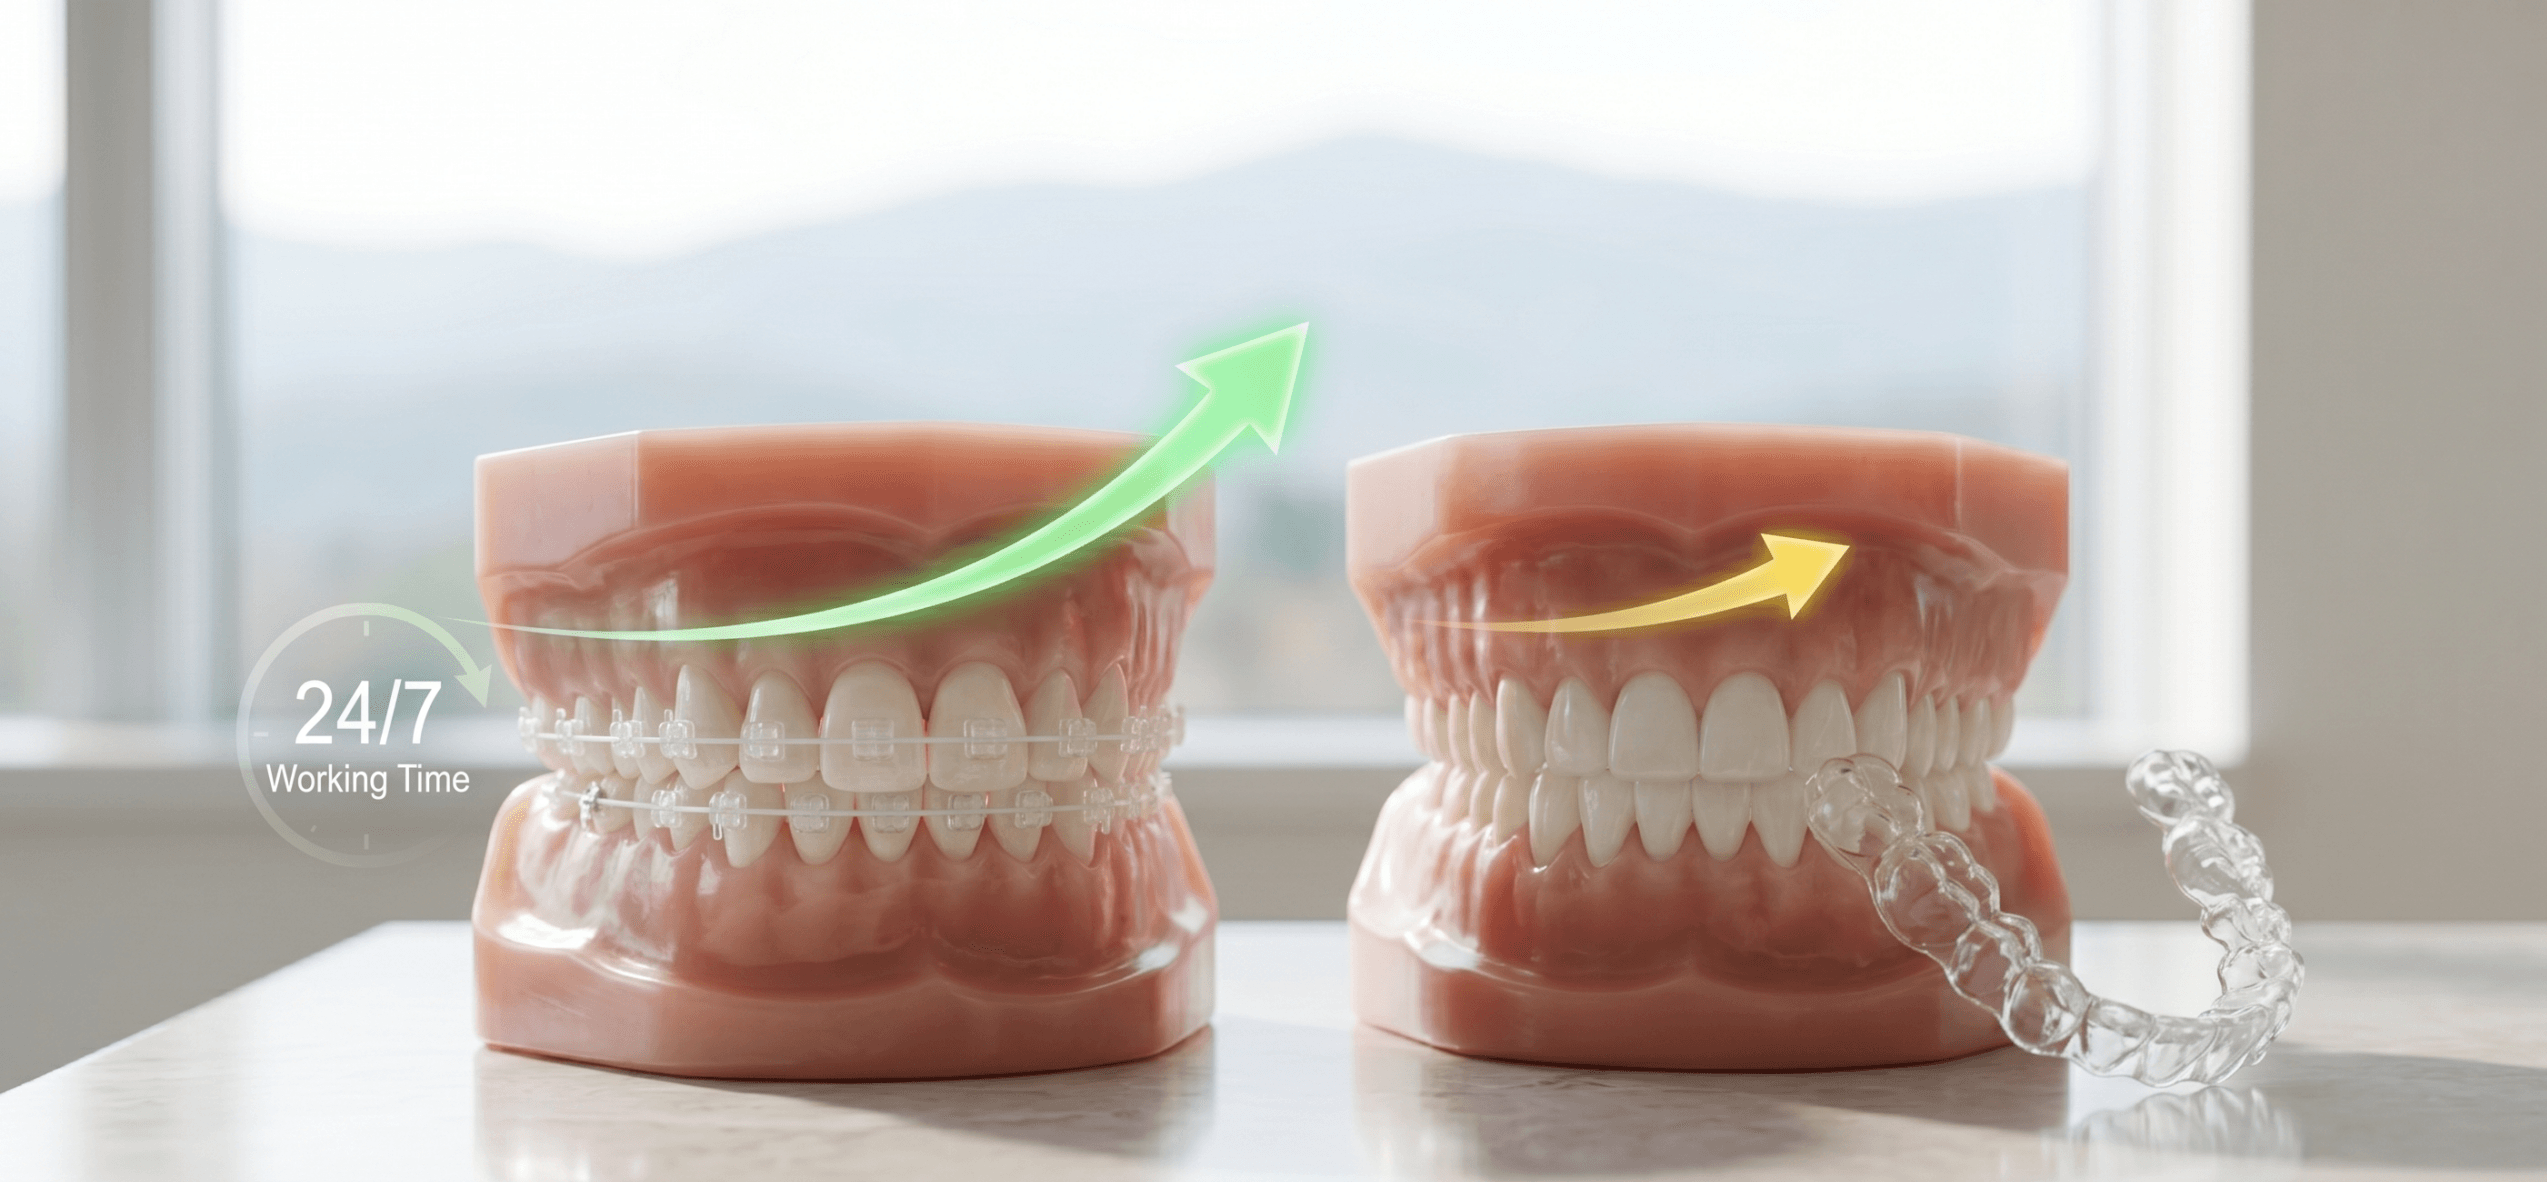
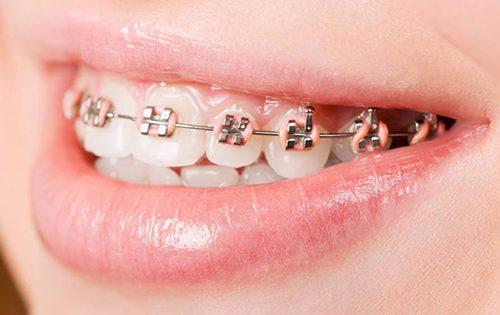
Getting traditional braces is a major step toward a healthy, confident smile. However, whether you are just starting your orthodontic journey or you’ve just had your wires tightened, adjusting your diet is a crucial part of the process.
Eating the wrong foods can bend wires, pop off brackets, and lead to extra visits to the orthodontist—delaying your treatment. The good news? A braces-friendly diet doesn’t mean you have to sacrifice flavor. Here is your ultimate guide to what you can enjoy safely, what to keep off your plate, and how to navigate those tender days after an adjustment.
Why Your Diet Matters During Orthodontic Treatment
Your braces are durable, but they aren’t indestructible. The brackets are attached to your teeth using a special dental adhesive designed to keep them in place while still allowing them to be safely removed at the end of your treatment.
When you bite down on hard, crunchy, or extremely sticky foods, the force can easily break that adhesive bond or warp your archwire. This requires a repair appointment and can stall your teeth’s progress. A mindful diet protects your hardware and keeps your treatment timeline on track.
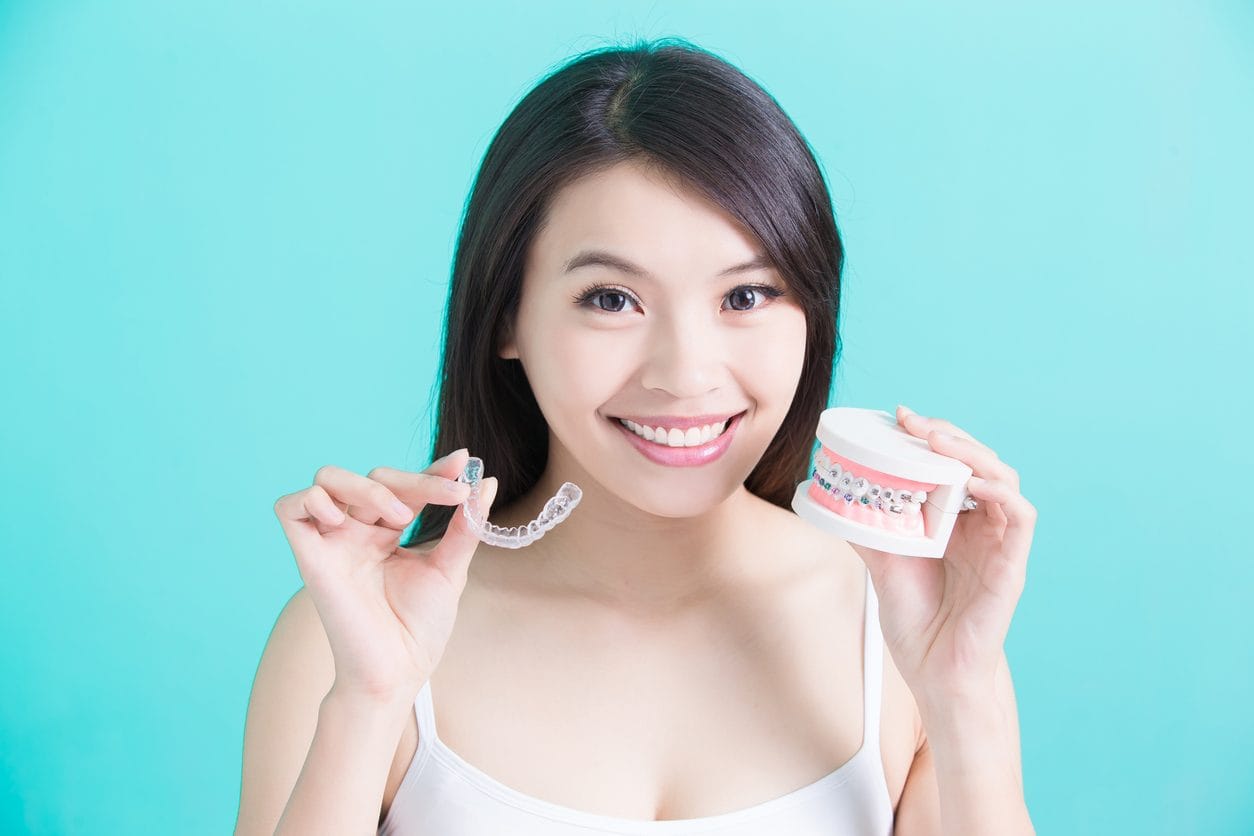
(Note: If you are wearing Invisalign clear aligners, you can remove your aligners to eat, meaning you have virtually no dietary restrictions!)
The “Yes” List: Best Foods to Eat with Braces
When it comes to eating with braces, soft foods are your best friend. These foods require minimal chewing pressure, making them safe for your brackets and gentle on your teeth when they are feeling sensitive.
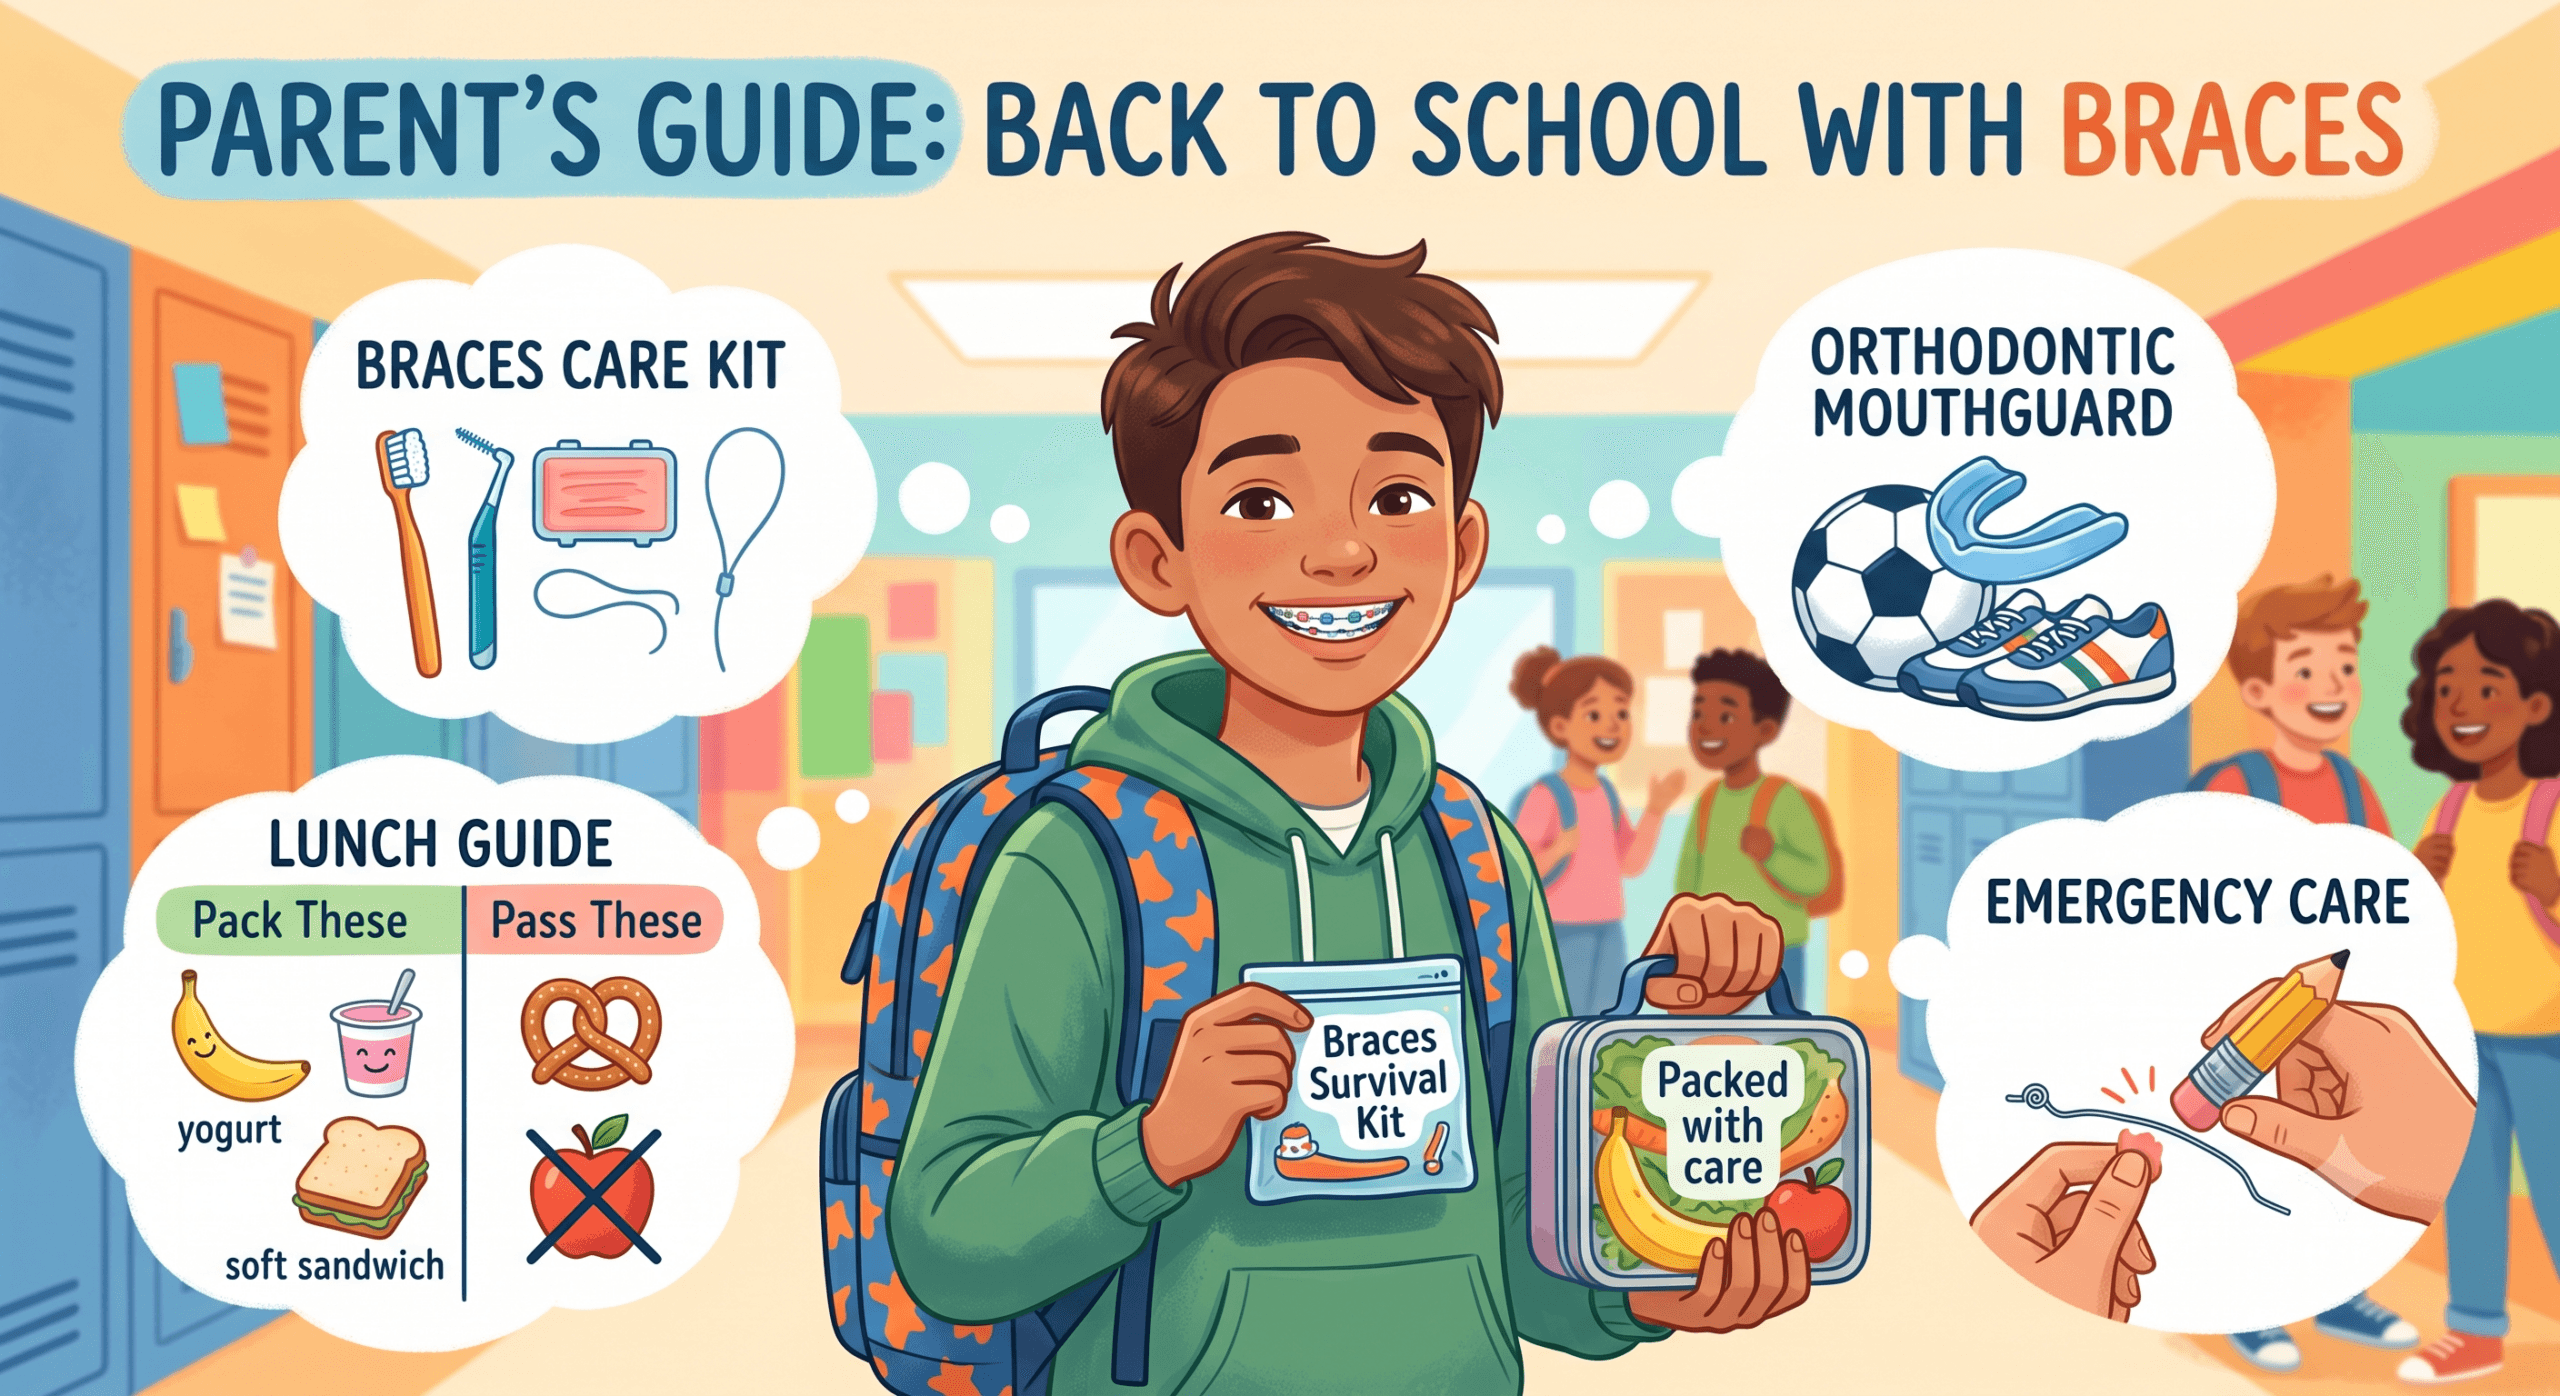
Need ideas for packing your child’s lunch? Check out our Parent’s Guide to Back to School with Braces for easy, braces-safe lunchbox prep!
Breakfast Favorites
-
Scrambled eggs: Soft, packed with protein, and require almost no chewing.
-
Oatmeal and yogurt: Smooth and filling.
-
Pancakes and waffles: Just be sure to avoid adding crunchy nuts!
-
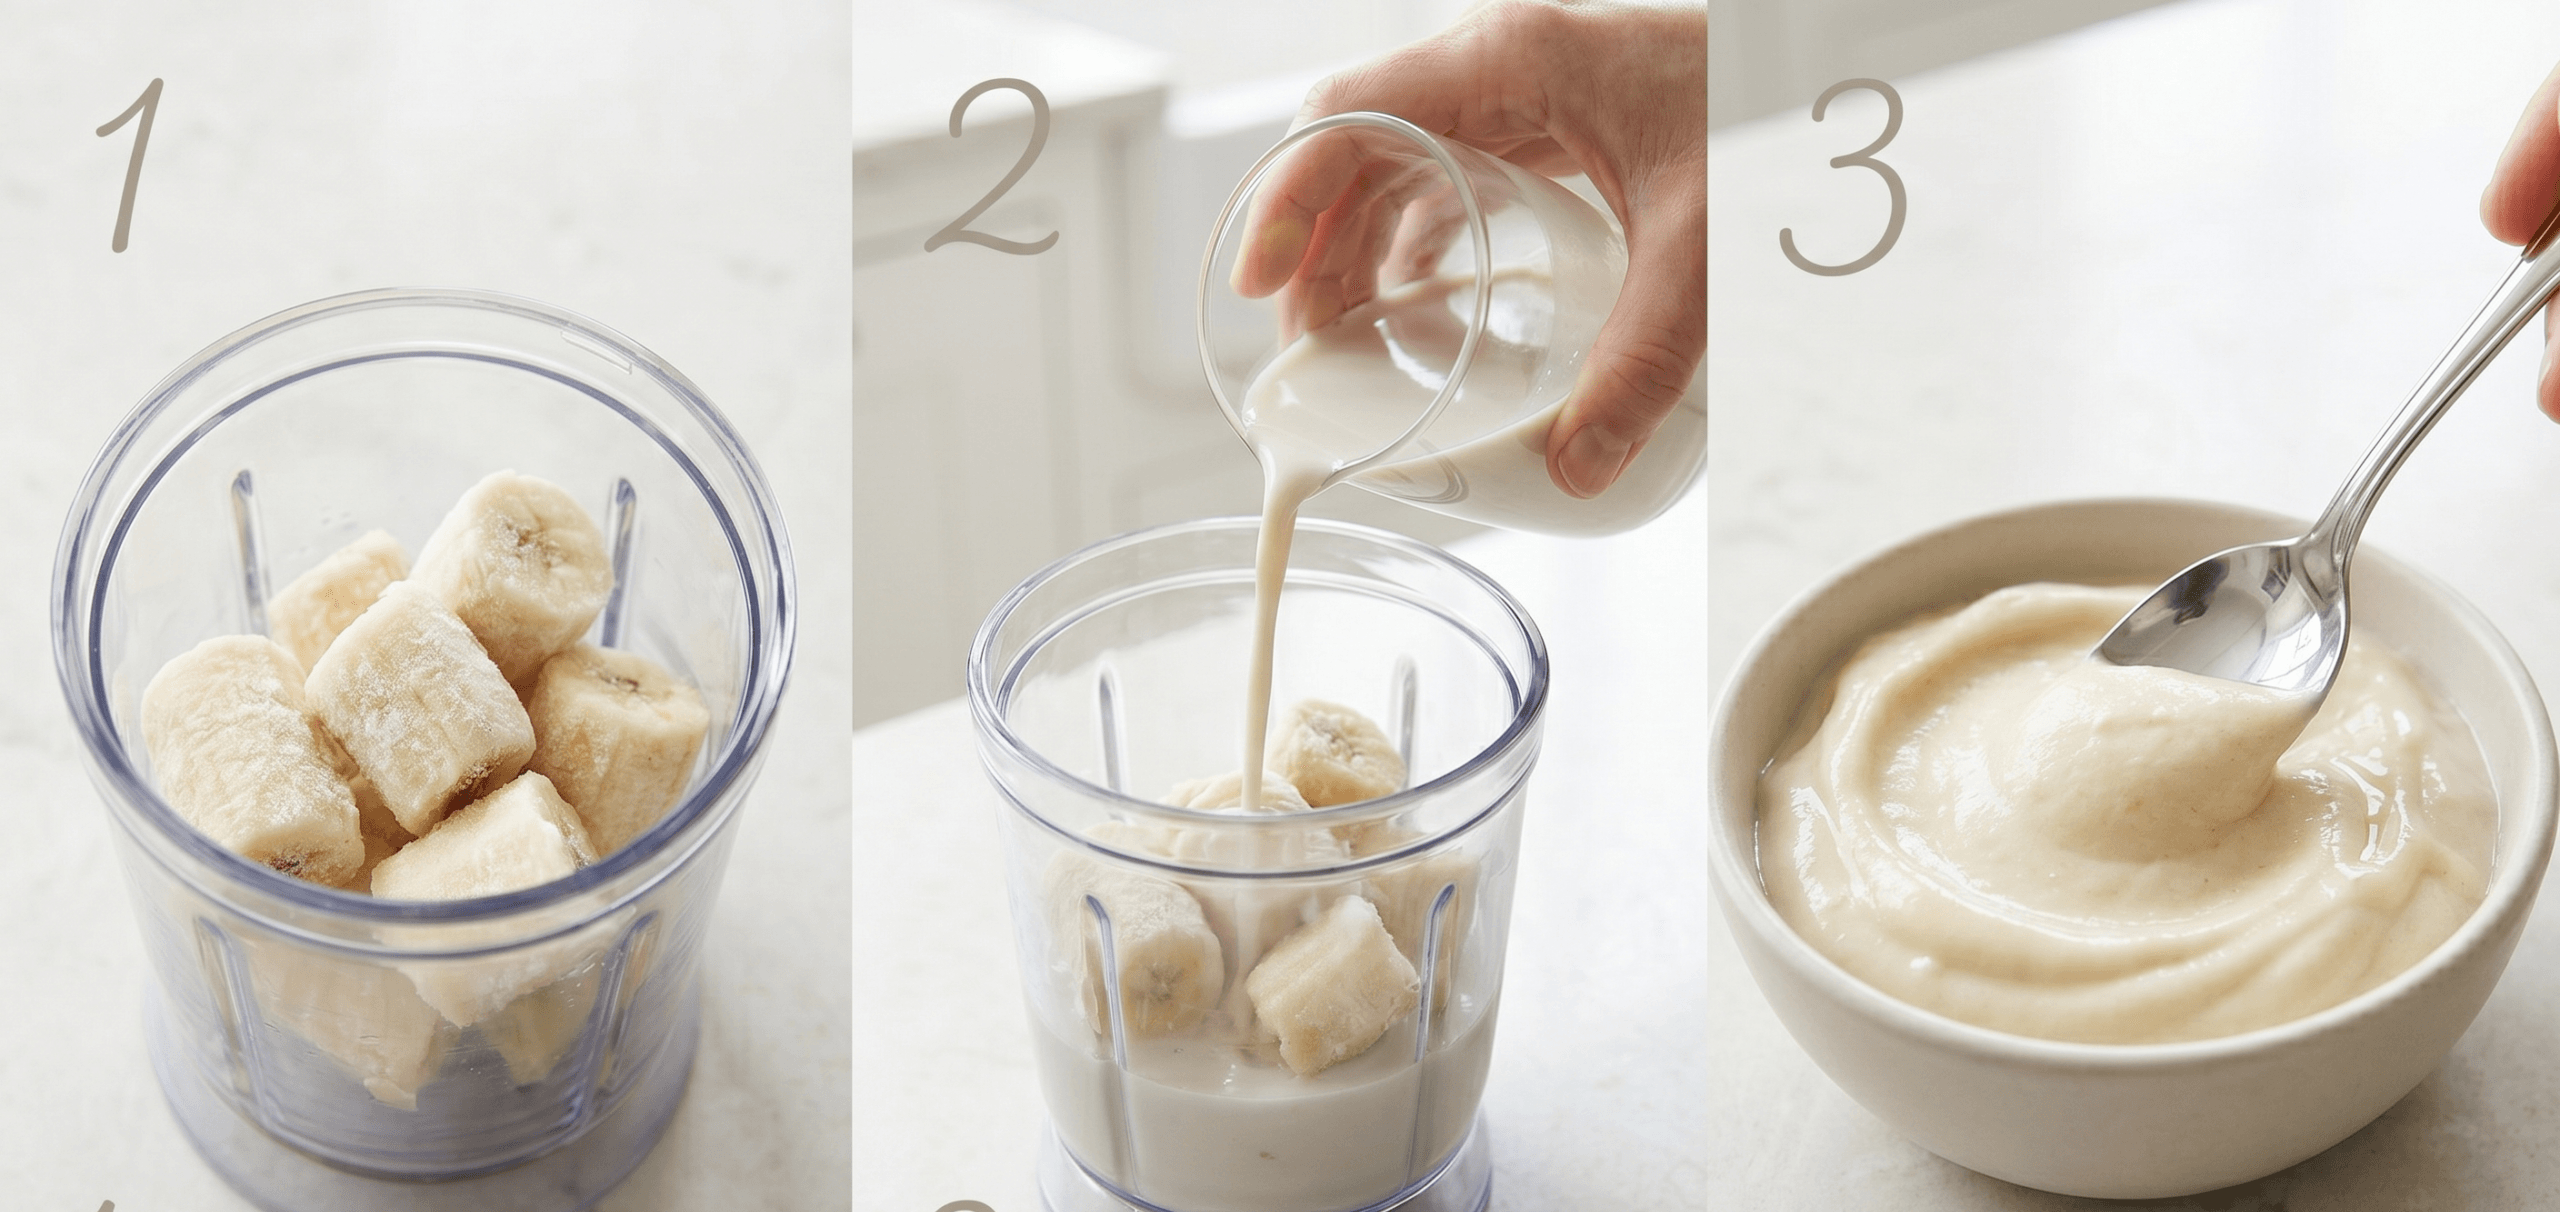
Smoothies: A perfect, nutrient-dense option, especially when your teeth are tender.
Lunch & Dinner Go-Tos
-
Pasta and noodles: Macaroni and cheese, spaghetti, and ramen are excellent, soft choices.
-
Soft breads: Remove crusts from sandwiches or opt for soft tortillas instead of hard taco shells.
-
Tender meats: Slow-cooked meats, shredded chicken, meatloaf, and soft fish are much easier to chew than a tough steak.
-
Cooked vegetables: Steaming or roasting vegetables like carrots, squash, and broccoli makes them perfectly safe.
-
Mashed potatoes: The ultimate comfort food for braces wearers.
Braces-Safe Snacks
-
Cheese: String cheese, cottage cheese, and soft cubes.
-
Fruit: Applesauce, bananas, berries, and melons.
-
Pudding and Jell-O: Great for a sweet treat that won’t risk a broken bracket.

The “No” List: Foods to Avoid with Braces
To prevent emergency orthodontic visits, you need to avoid foods that fall into three main categories: Hard, Sticky, and Chewy.
1. Hard and Crunchy Foods
These foods put immense pressure on your brackets when you bite down.
-
Ice: Never chew on ice! It is the number one culprit for broken brackets.
-
Nuts and seeds: Almonds, cashews, and sunflower seeds are too hard.
-
Hard candies: Jolly Ranchers, lollipops, and peppermints.
-
Thick, hard chips: Tortilla chips and hard pretzels.
-
Pizza crust: The hard, chewy edge is a notorious bracket-breaker.
2. Sticky and Chewy Foods
Sticky foods can get wrapped around your wires and pull your brackets right off your teeth. They also harbor sugar against your enamel, increasing the risk of cavities.
-
Caramel and taffy: These are major hazards for braces.
-
Gum: Even sugar-free gum can tangle in your wires.
-
Gummy candies: Starburst, Skittles, and gummy bears.
-
Chewy candies: Tootsie Rolls and Milk Duds.
3. Foods You Have to Bite Into
Foods that require a strong, front-tooth bite should be modified before eating.
-
Apples and raw carrots: Do not bite into them whole. Cut them into thin, bite-sized pieces before eating.
-
Corn on the cob: Cut the kernels off the cob instead.
-
Meat on the bone: Remove chicken wings or ribs from the bone before eating.
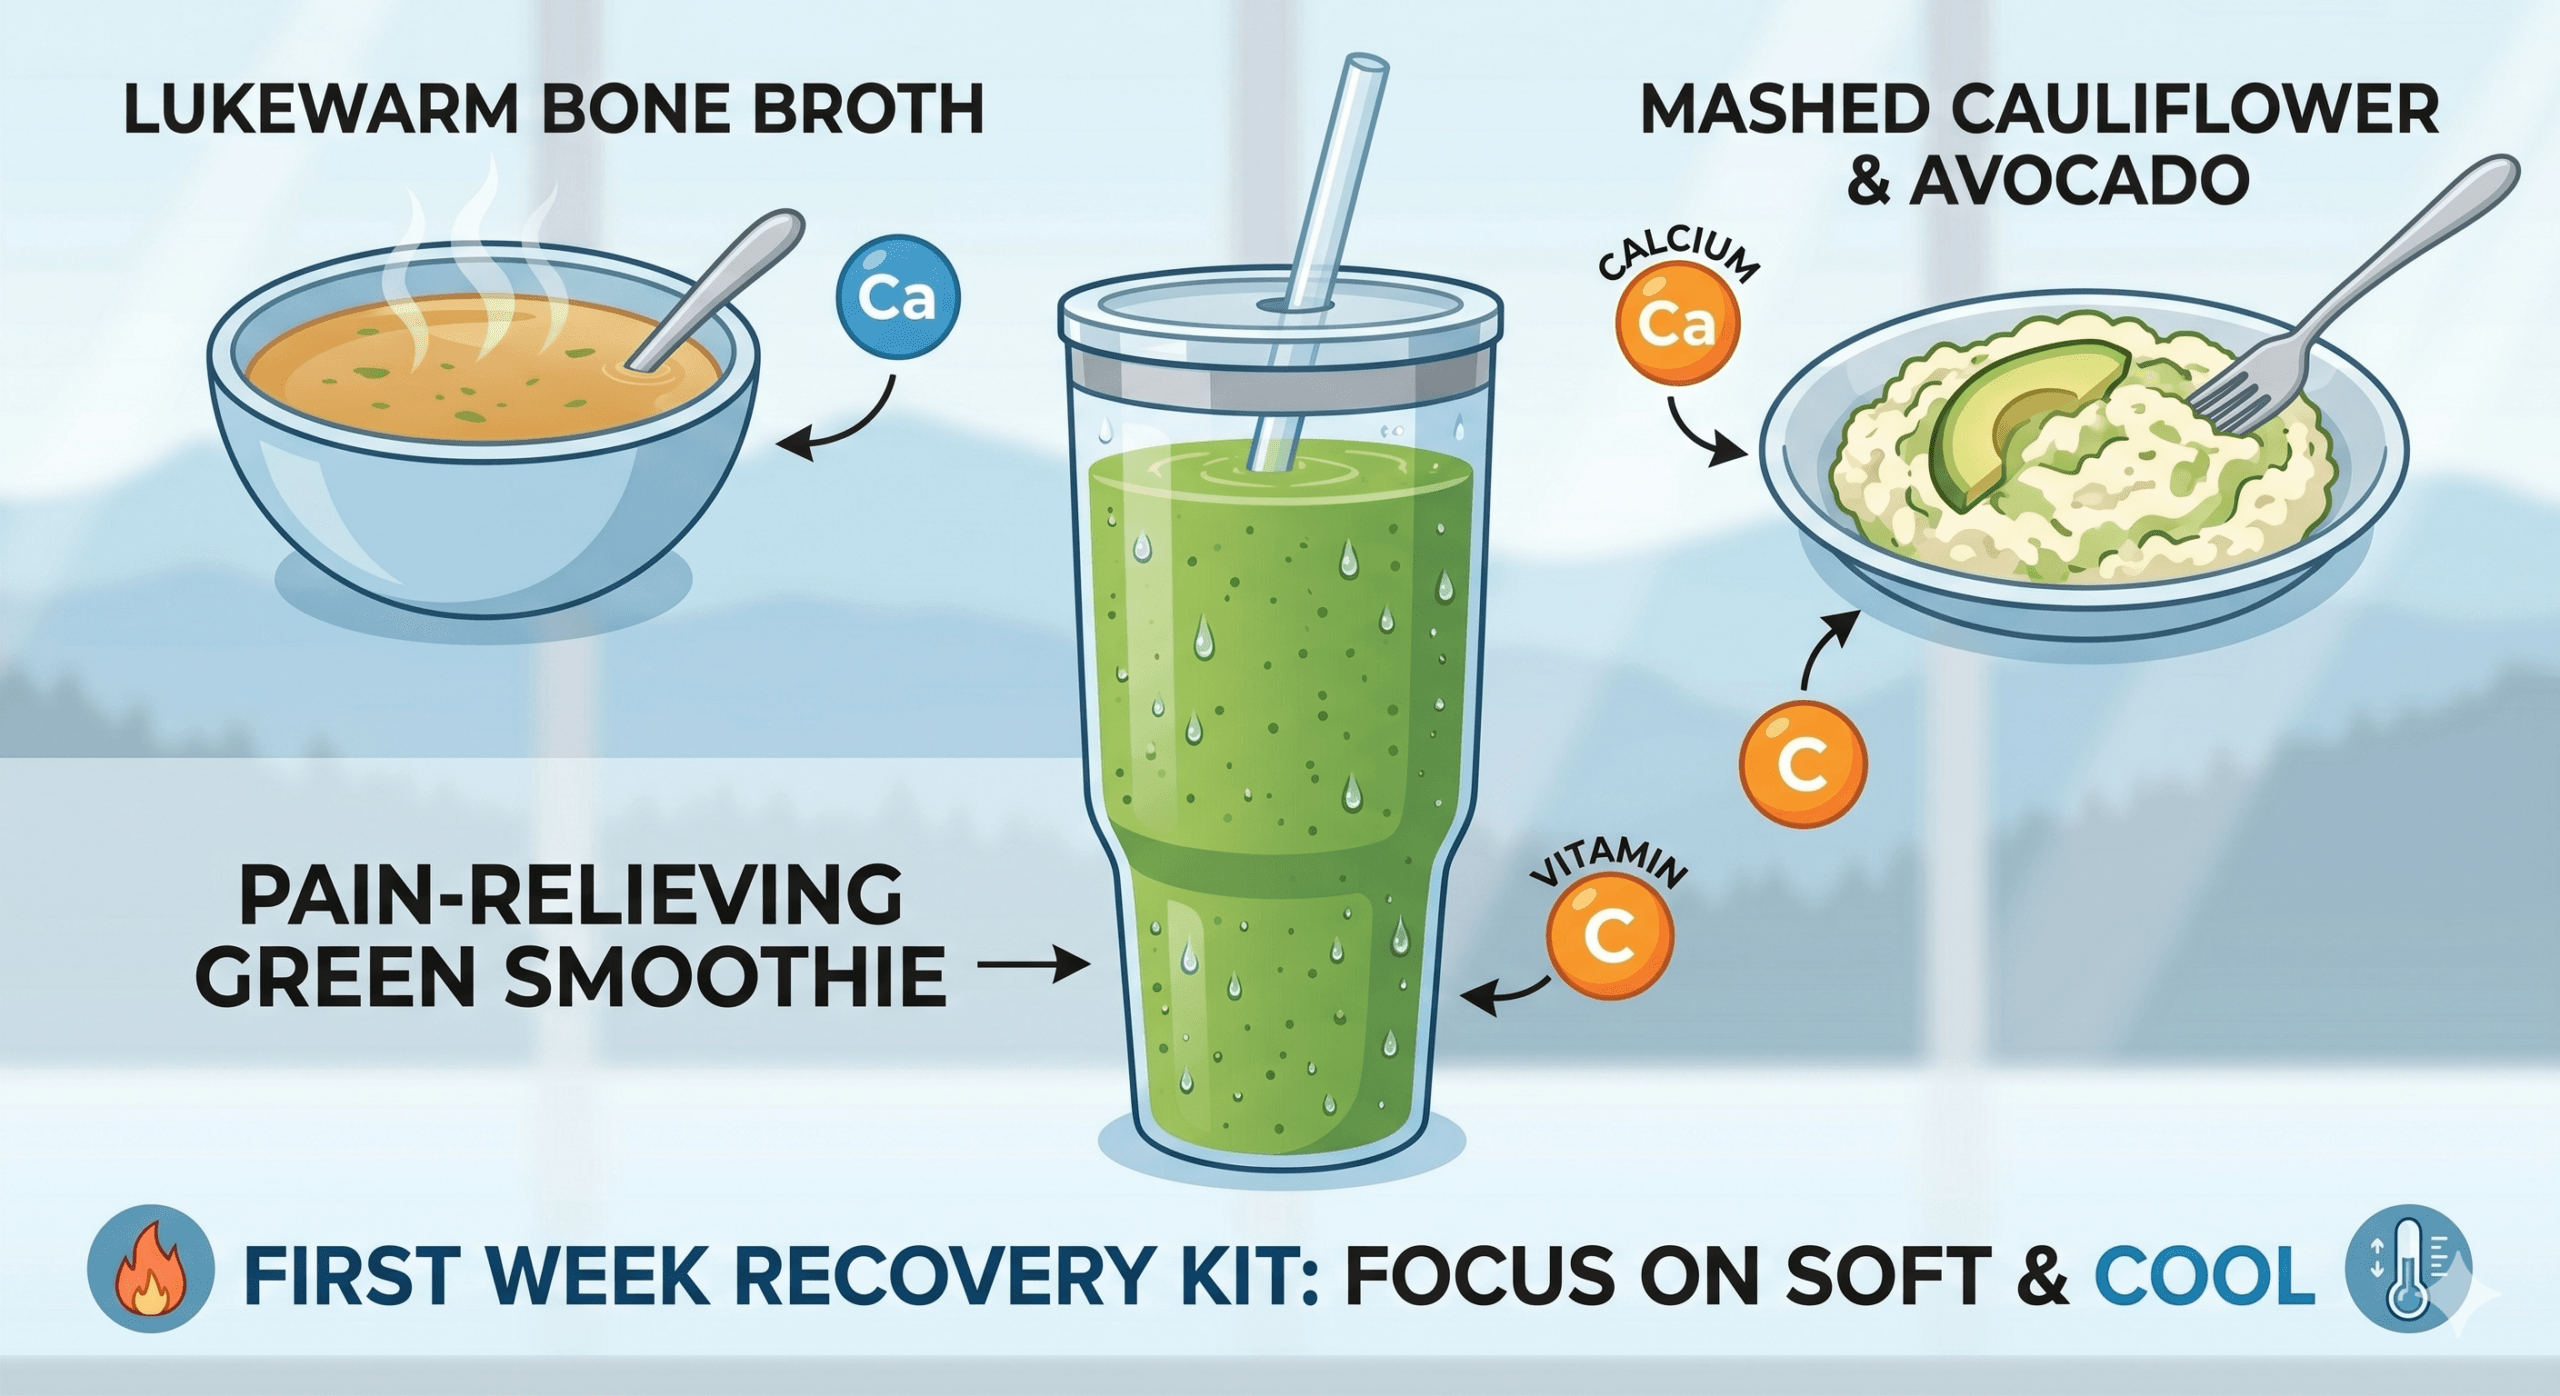
Navigating Soreness After Adjustments
It is completely normal to experience mild soreness for a few days after getting your braces put on or having an adjustment at one of our offices in Asheville, Brevard, or Hendersonville.
During these periods, stick strictly to the softest foods on the “Yes” list—think smoothies, mashed potatoes, and soup. Cold items, like ice cream or frozen yogurt, can also help numb the discomfort.
If you accidentally eat something hard and experience a poking wire or a loose bracket, don’t panic! Refer to our comprehensive Orthodontic Emergencies Guide for step-by-step instructions on handling it at home, or give our team a call.
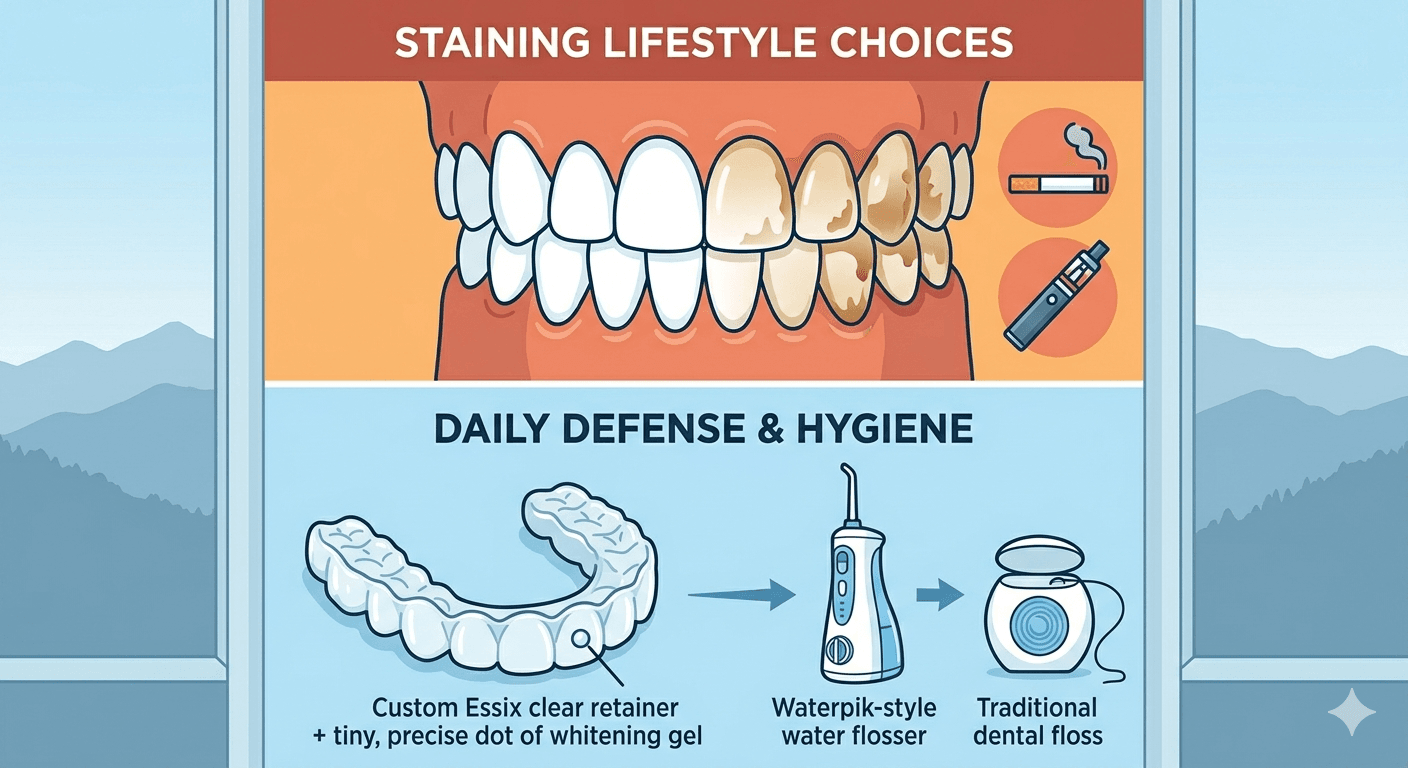
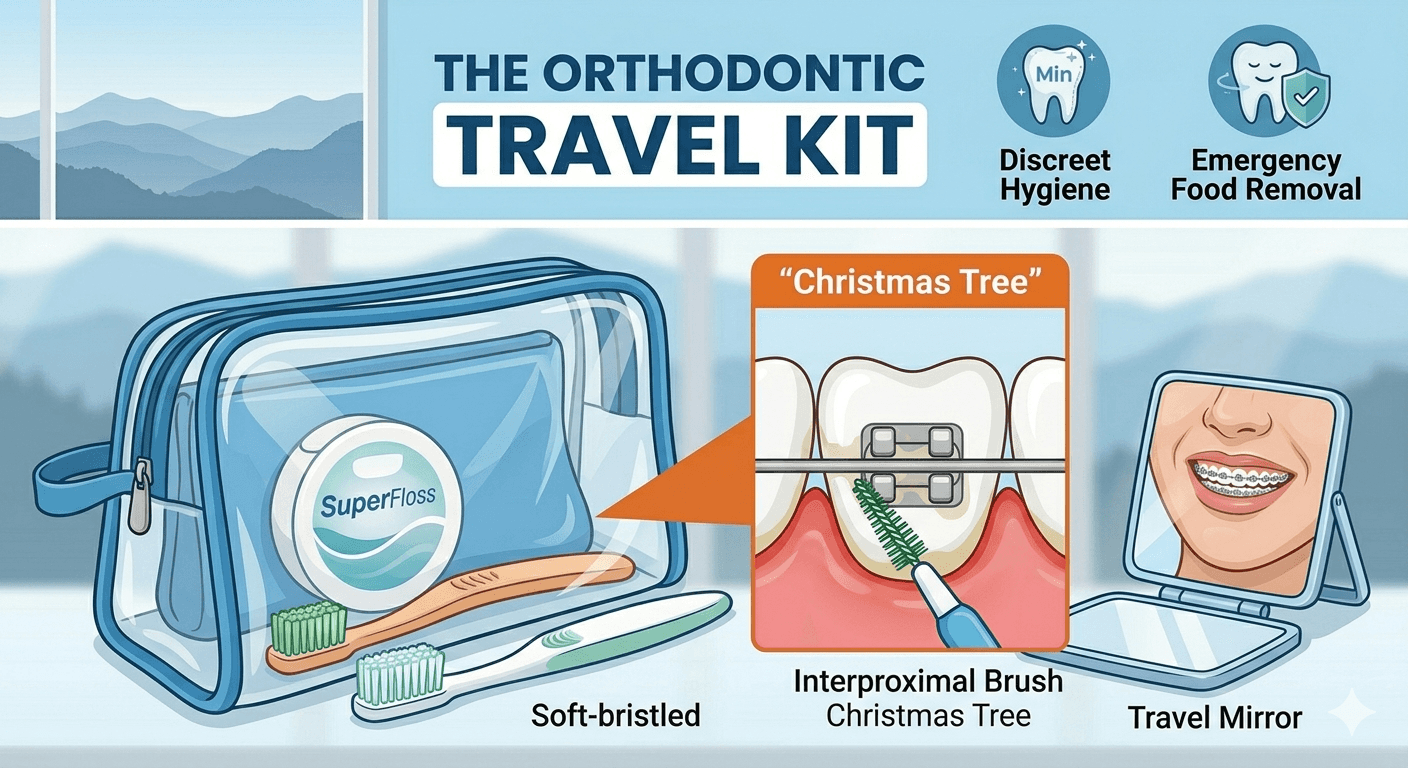
Keeping Your Smile Clean
Your braces-friendly diet goes hand-in-hand with excellent oral hygiene. Soft foods can easily get trapped around your brackets. Be sure to:
-
Brush after every meal: Use a soft-bristled toothbrush to gently clean around the hardware.
-
Floss daily: A water flosser or floss threaders are essential tools for getting between the teeth and under the wires.
-
Stay hydrated: Drinking plenty of water throughout the day helps wash away loose food particles.
With a little patience and a few simple modifications, you’ll be a pro at navigating your braces diet in no time. If you have any questions about a specific food or need to schedule an appointment, contact the Blue Ridge Orthodontics team today!