What to Eat with Braces: The Ultimate Braces-Friendly Food Guide
So, you’ve just left the orthodontist’s office with a shiny new set of braces. Your mouth might feel a little crowded, and your teeth could be tender—that’s totally normal! Whether you’re a teen figuring out school lunches or an adult adjusting to braces for the first time, the first few days can take some getting used to.
This guide isn’t just another “don’t eat this” list. We’re here to help you understand why certain foods matter, how to ease discomfort with the right nutrition, and how to keep your braces in great shape so you can reach your “Debonding Day” as quickly as possible.
The First 72 Hours: Managing Soreness
Right after getting your braces or following a major adjustment, your teeth are starting the process of “bone remodeling.” This is when the wires apply gentle, constant pressure to move your teeth, which can cause some temporary soreness.
During these first three days, keep this mantra in mind: If you have to chew it, skip it.
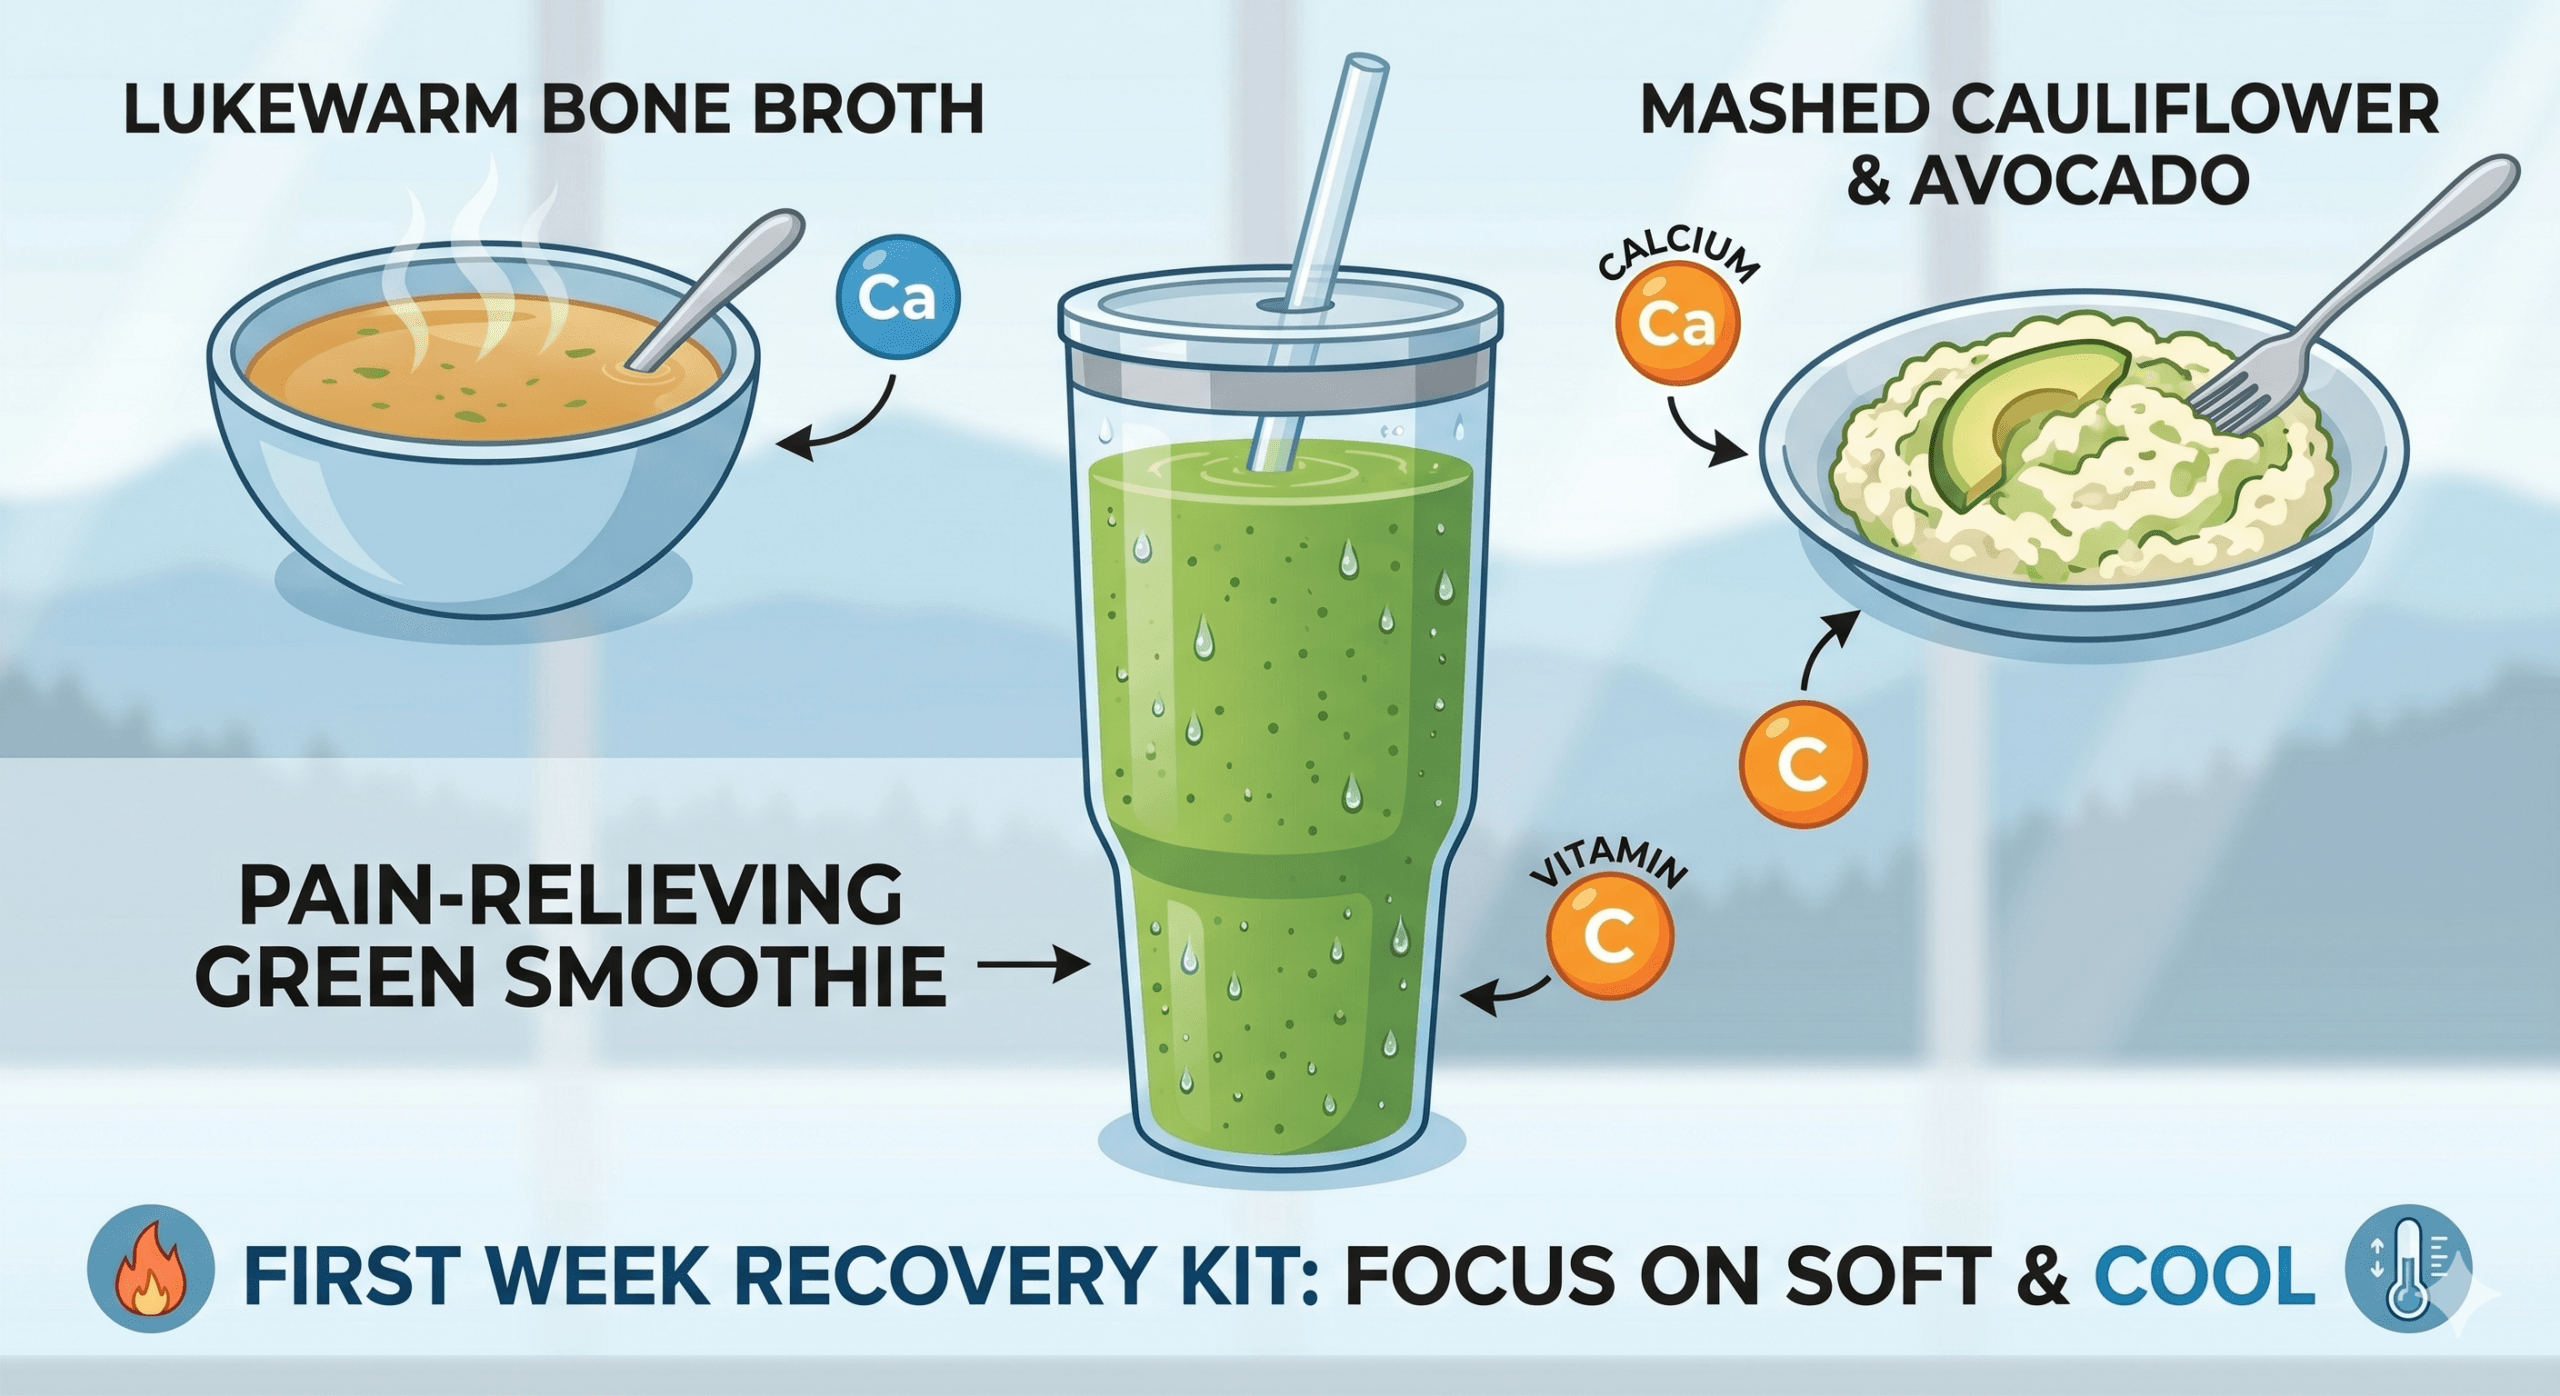
Top 5 Foods for the First Week
-
Protein-Packed Smoothies
Cold smoothies not only taste great but also act like a natural ice pack for your gums, reducing inflammation. -
Mashed Potatoes or Cauliflower
These soft, comforting carbs are filling and easy to eat without putting pressure on your teeth. -
Greek Yogurt or Pudding
Packed with calcium, these are great for supporting your jawbone as it adjusts to your braces. -
Bone Broth or Lukewarm Soups
Warm (not hot!) soups are soothing and full of nutrients to keep you energized. -
Scrambled Eggs
Soft, protein-rich, and easy to eat—eggs are a braces-friendly breakfast or snack option.
What to Eat vs. What to Avoid
To keep your braces working properly, it’s important to protect the bond between your teeth and the brackets. If a bracket breaks, your tooth stops moving in the right direction, which can delay your treatment.
Braces-Friendly Food Reference Table
| Food Category | The “Safe” List (Eat This) | The “Danger” List (Avoid This) | Why? |
| Grains & Breads | Soft tortillas, pancakes, muffins (no nuts), cooked pasta, couscous. | Hard pizza crusts, crusty sourdough, bagels, crunchy taco shells. | Hard crusts can “shear” brackets off the teeth. |
| Proteins | Meatloaf, deli meats, slow-cooked chicken, fish, tofu. | Beef jerky, ribs (unless cut off bone), wings (unless cut off bone). | Biting into bone or tough fibers pulls on wires. |
| Fruits & Veggies | Bananas, steamed carrots, mashed avocado, applesauce. | Raw carrots, whole apples, corn on the cob, celery. | Biting into hard produce is the #1 cause of broken front brackets. |
| Snacks | Soft crackers, cheese puffs, soft cookies, grapes. | Popcorn, nuts, hard pretzels, kettle chips. | Kernels and hard bits get wedged under gums and wires. |
| Treats | Ice cream, smoothies, Jell-O, peanut butter cups. | Taffy, caramel, Starbursts, gummy bears. | Sticky sugar pulls wires out of their slots. |
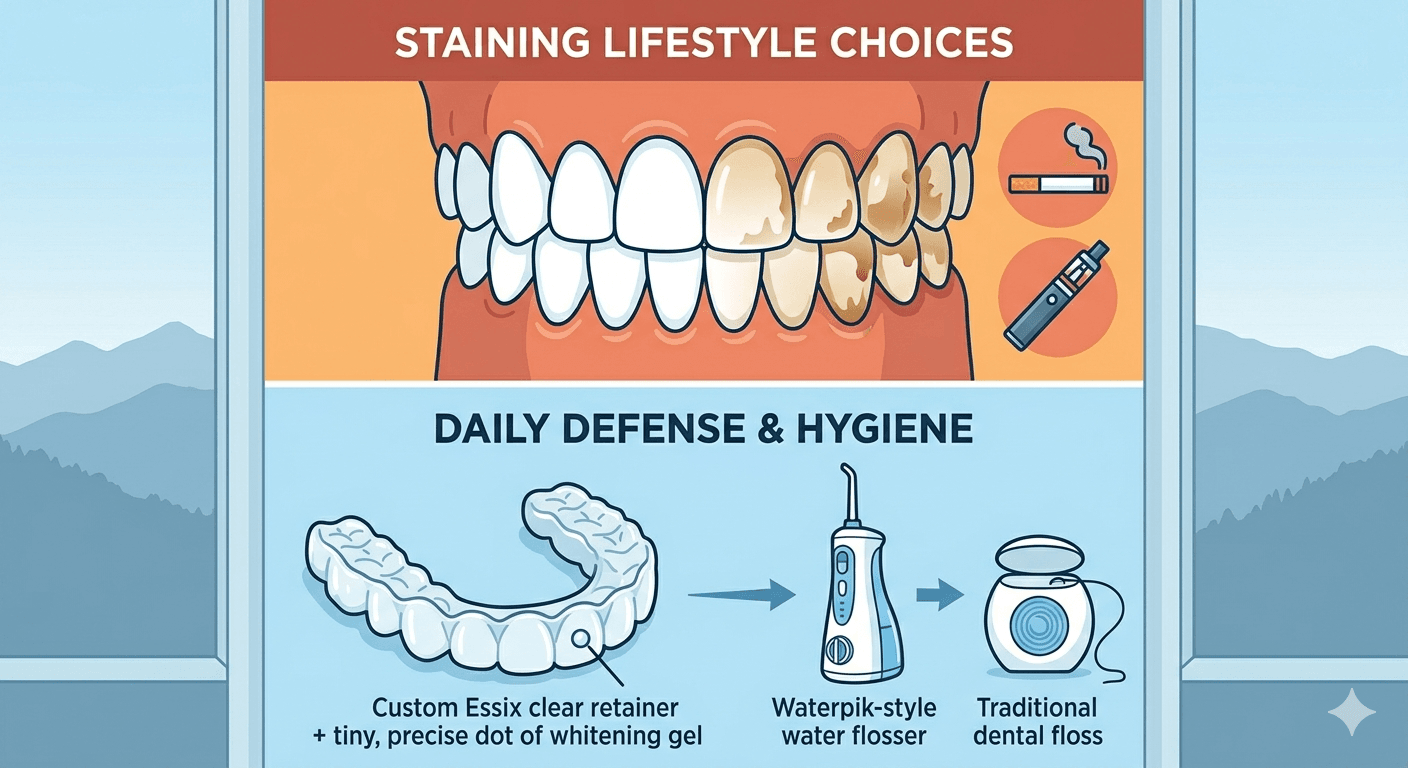
Protecting Your Aesthetics: Staining and Discoloration
For many, the look of their braces is a top priority. If you’ve chosen ceramic braces for their discreet look, or if you’ve opted for vibrant blue braces to show off your style, your diet plays a role in how they look.
The Stain Strategy
The American Dental Association (ADA) points out that while the brackets themselves (especially ceramic) are highly stain-resistant, the clear elastic “ties” that hold the wire in place are porous.
-
Foods that Stain: Mustard, turmeric, dark coffee, red wine, and beets.
-
The Fix: If you consume these, rinse your mouth with water immediately. If you have clear or white ties on ceramic braces, these pigments can turn them yellow or neon green almost instantly.
The White Diet: For Those Concerned About Staining
If you’re worried about keeping your braces and teeth looking their best, the “White Diet” can help. This diet focuses on eating light-colored, non-staining foods, especially after adjustments or whitening treatments when your teeth are more porous and prone to discoloration.
Foods to Enjoy on the White Diet
- Proteins: Chicken breast (no skin), white fish, tofu, and egg whites.
- Carbs: White rice, plain pasta (no red sauce), and peeled potatoes.
- Dairy: Milk, plain yogurt, and white cheeses like mozzarella or feta.
- Snacks: Rice cakes, plain crackers, and vanilla pudding.
Foods to Avoid
- Dark Beverages: Coffee, black tea, red wine, and dark sodas.
- Pigmented Sauces: Soy sauce, balsamic vinegar, and tomato-based pasta sauces.
- Brightly Colored Foods: Beets, blueberries, and anything with artificial coloring.
By sticking to the White Diet, you can help prevent staining and keep your braces and teeth looking fresh throughout your treatment.
Preventing Gum Inflammation
Sugary and starchy foods (like white bread and soda) create a “glue” that sticks to your brackets. If not cleaned away with a dedicated floss for braces, this leads to swollen, puffy gums. Highly inflamed gums can actually grow over your brackets, making adjustments painful and slowing down tooth movement.
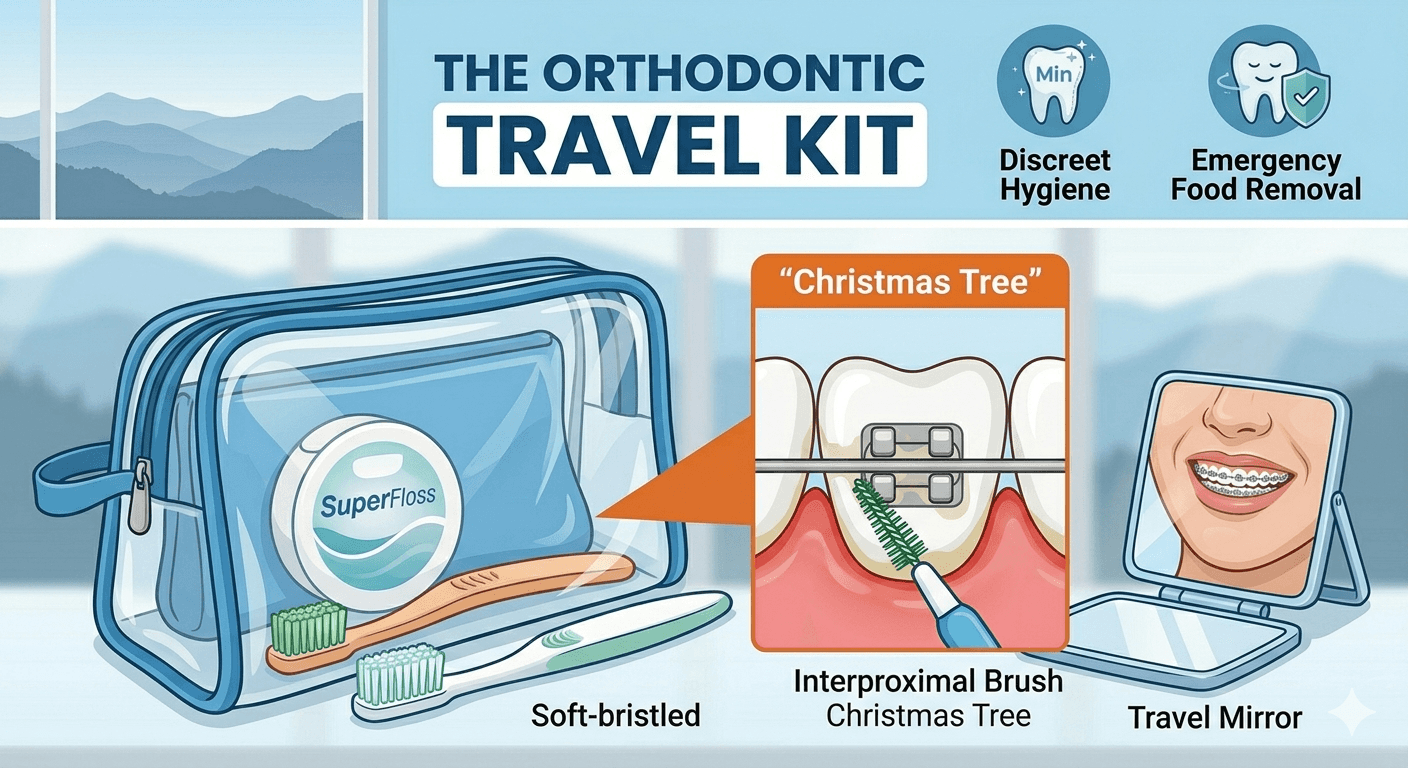
Life Hacks for Braces Eaters
-
The “Knife and Fork” Rule: You can eat many “forbidden” foods if you change how you eat them. Slice apples into thin wedges. Cut corn off the cob. Quarter your pizza slices and eat them with a fork.
-
The Temperature Check: Avoid extremely hot foods immediately after an adjustment. Lukewarm or cool foods are much more soothing.
-
Hydration is Hygiene: Drinking water while you eat helps “power wash” food particles out of your wires before they have a chance to settle.
-
The Travel Kit: Always carry an interproximal brush (the “Christmas tree” brush). It is your best friend when you’re out at dinner in Asheville and realize you have a piece of spinach caught in your blue braces.

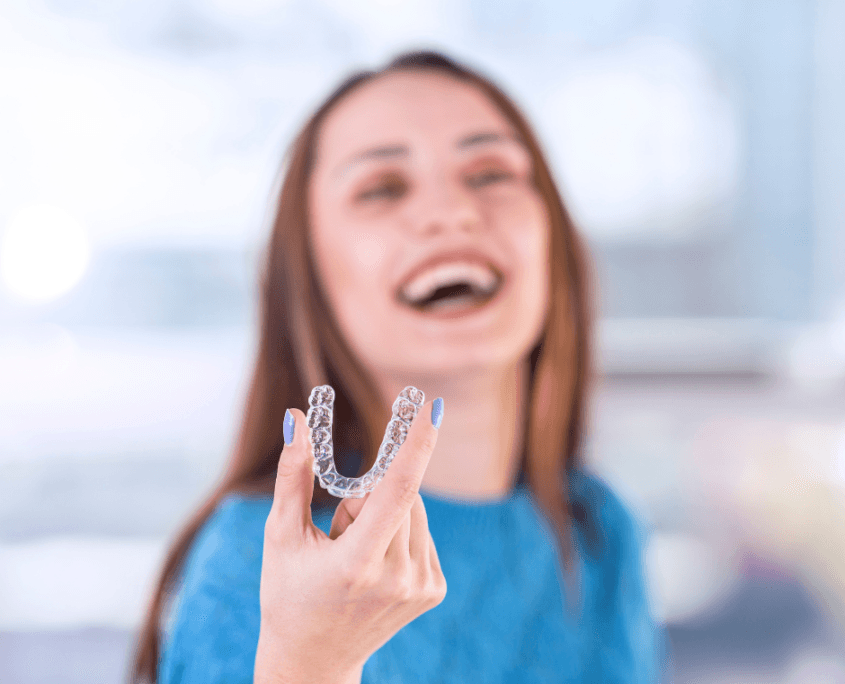
Is Invisalign a Better Option for You?
If the idea of restricted eating feels overwhelming, Invisalign might be your perfect match. Because Invisalign aligners are removable, there are zero food restrictions. You simply pop them out, enjoy your meal, brush your teeth, and pop them back in.
Many adults choose Invisalign specifically for this freedom. However, if you prefer the “set it and forget it” nature of fixed hardware, our team will ensure you have all the tools—from wax to specialized floss for braces—to make your journey comfortable.
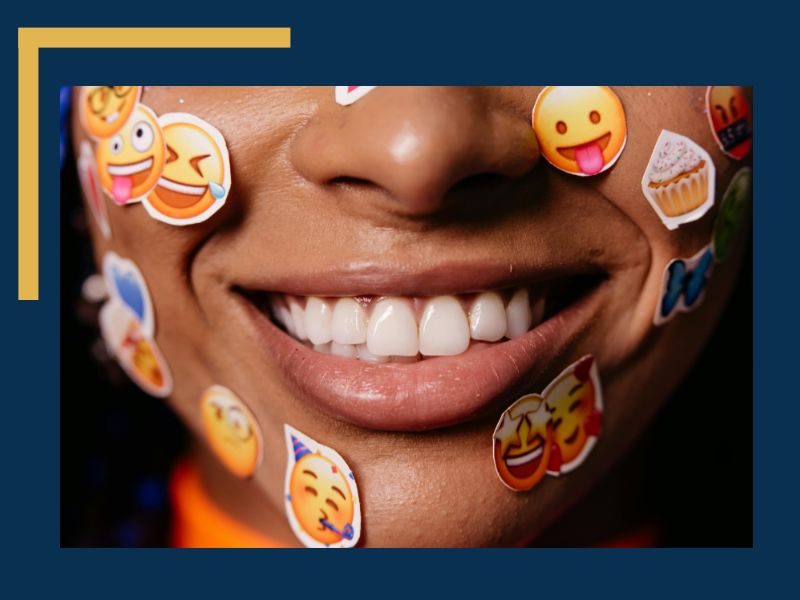
Your Smile Transformation Starts Here
Let’s face it—a great smile is about so much more than straight teeth. It’s about feeling confident, laughing without hesitation, and letting your true self shine. At Blue Ridge Orthodontics, we’re here to help you achieve that.
We combine cutting-edge technology with a warm, personalized approach that puts you in control of your journey. You’re not just another patient to us—you’re a partner in designing a smile you’ll love. Whether you’re exploring adult braces for yourself or seeking top-notch care for your child, we’re dedicated to delivering results that look incredible and feel even better.
Ready to begin your journey? Discover what makes the BRO experience truly unique.
Visit us at one of our Three Convenient Locations in Western North Carolina
1. Asheville Dental Office Location
Tel: 828.407.1417
2. Brevard Dental Office Location
Tel: 828.537.5364
3. Hendersonville Dental Office Location
Tel: 828.537.5403
If you’re interested in this topic, you may also like:
-
Ultimate Guide to Brushing with Braces: Now that you know what to eat, learn how to clean it all away.
- A Complete Guide to Whitening Teeth After Braces: A comprehensive look to teeth whitening post braces removal.
-
20 Things to Know Before Getting Braces: A deep dive into the first month of treatment.
-
Side Effects of Braces: What is Normal?: Understanding the difference between expected soreness and an emergency.
-
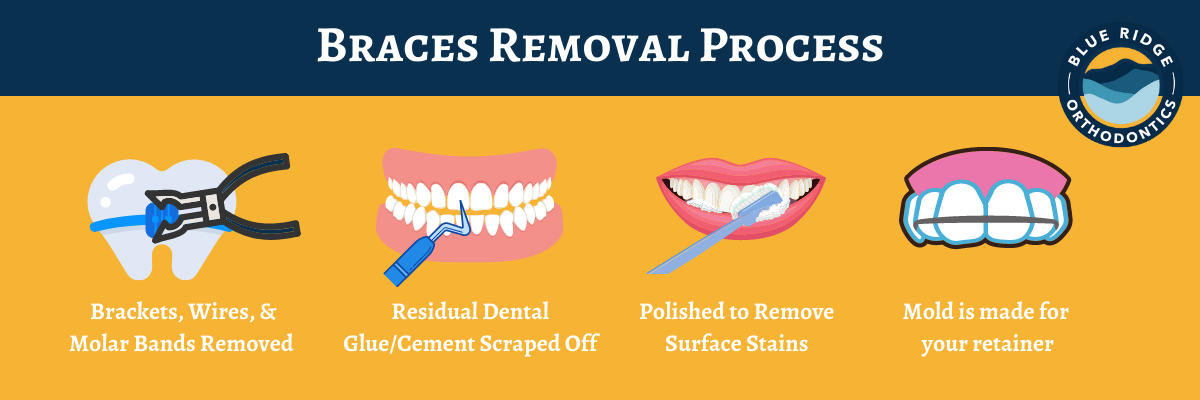
What to Expect on Removal Day: The light at the end of the tunnel!
-
Why Your Retainer is Your Best Friend: How to keep that hard-earned smile in place forever.
- Orthodontics FAQs: Find the most commonly asked questions to Blue Ridge Orthodontics.
Ready to start your transformation? Visit us in Asheville, Brevard, or Hendersonville! Schedule your consultation today!